Installing LocoFi in a KATO EMD GP35 Phase Ia Norfolk Southern.pdf
Here is a clip I uploaded to YouTube channel:
Enjoy and comment. The layout is a work in progress!
Installing LocoFi in a KATO EMD GP35 Phase Ia Norfolk Southern #1308 37-034
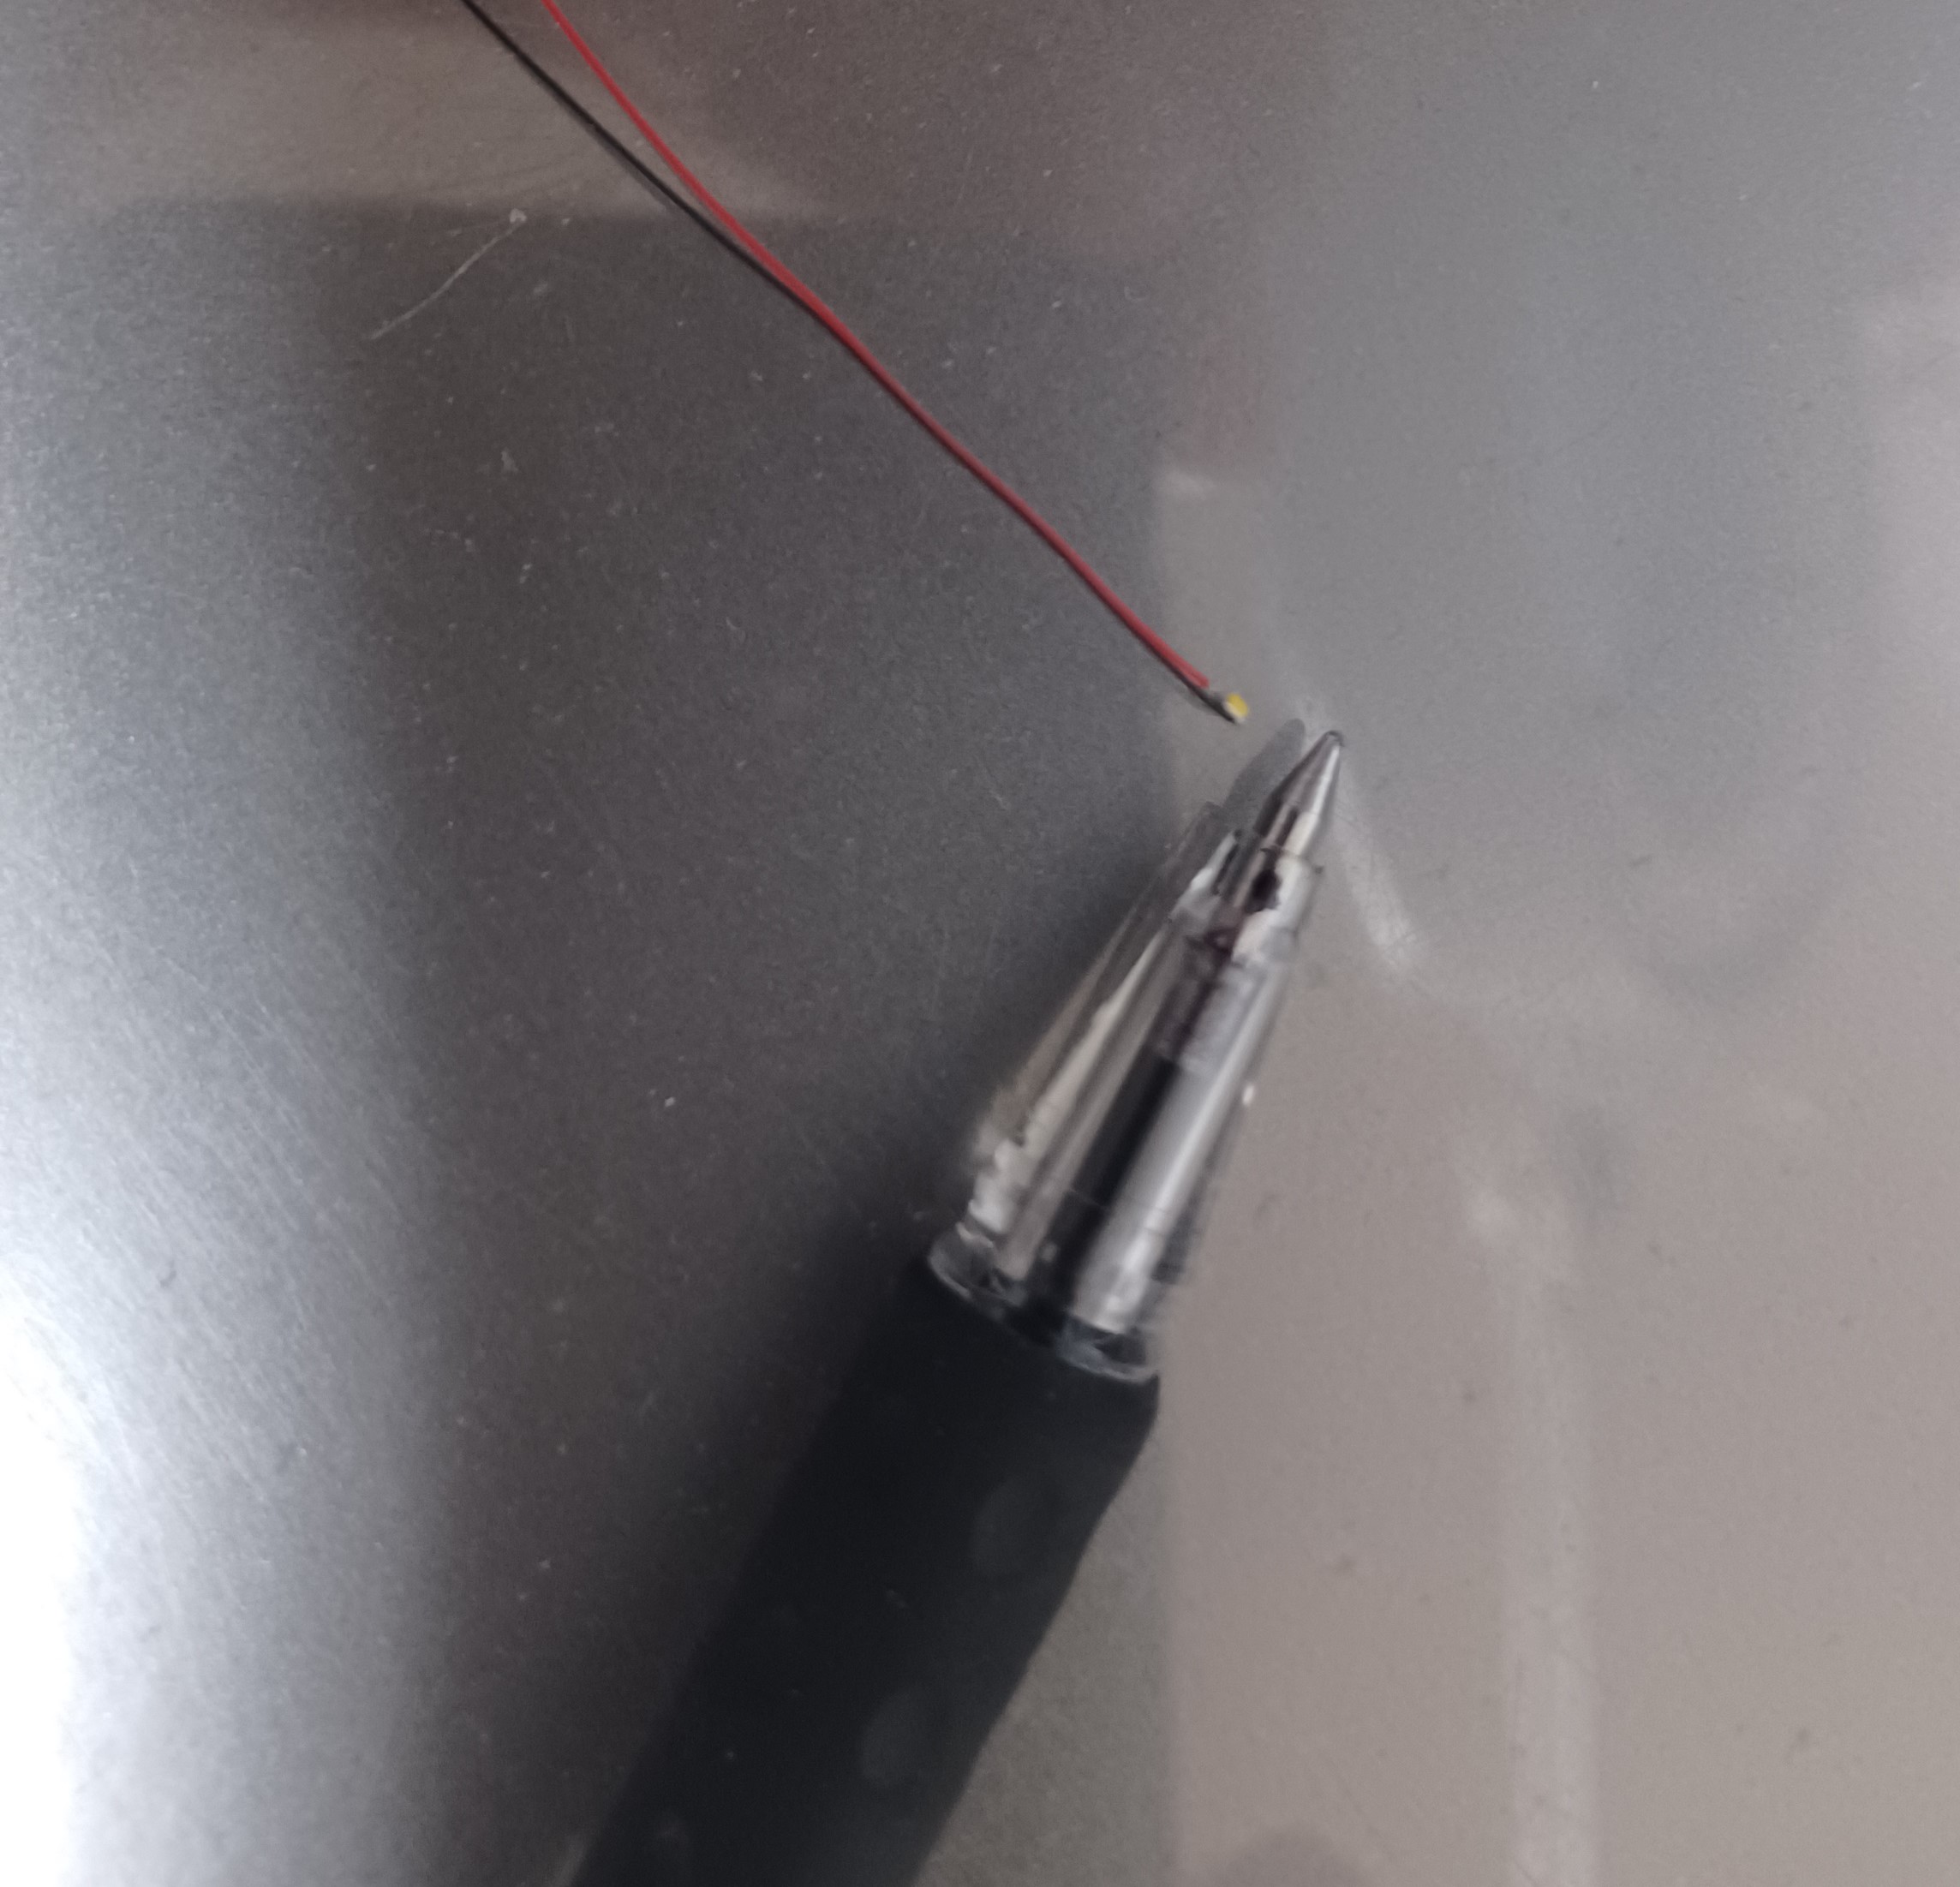
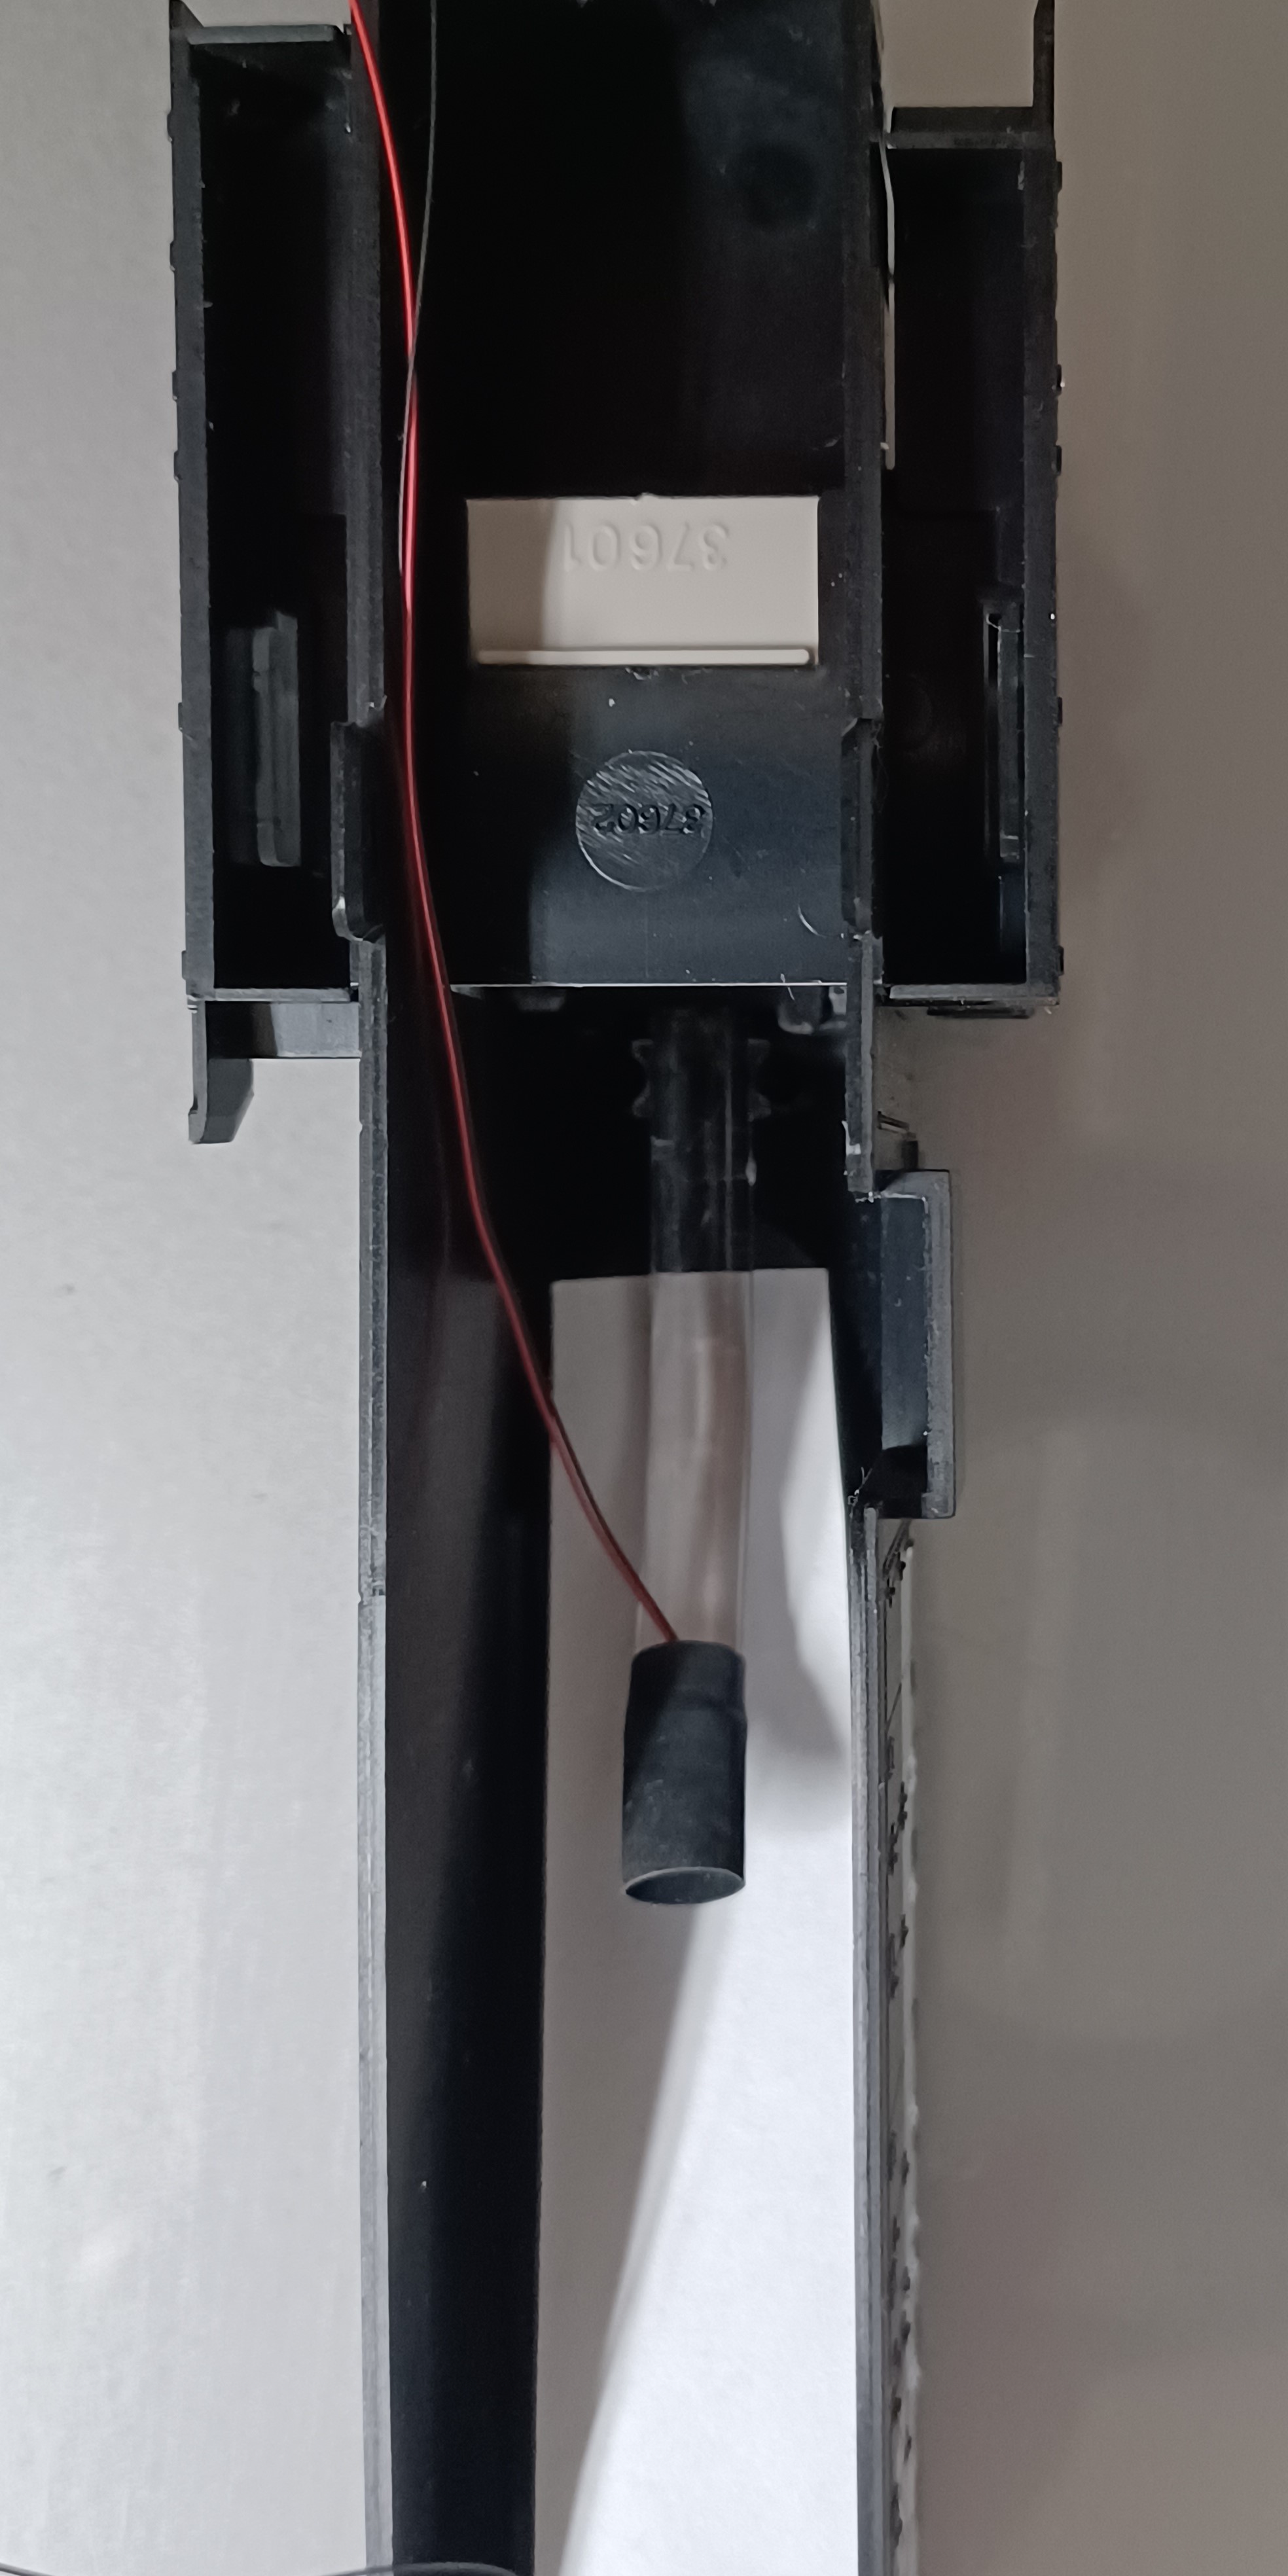
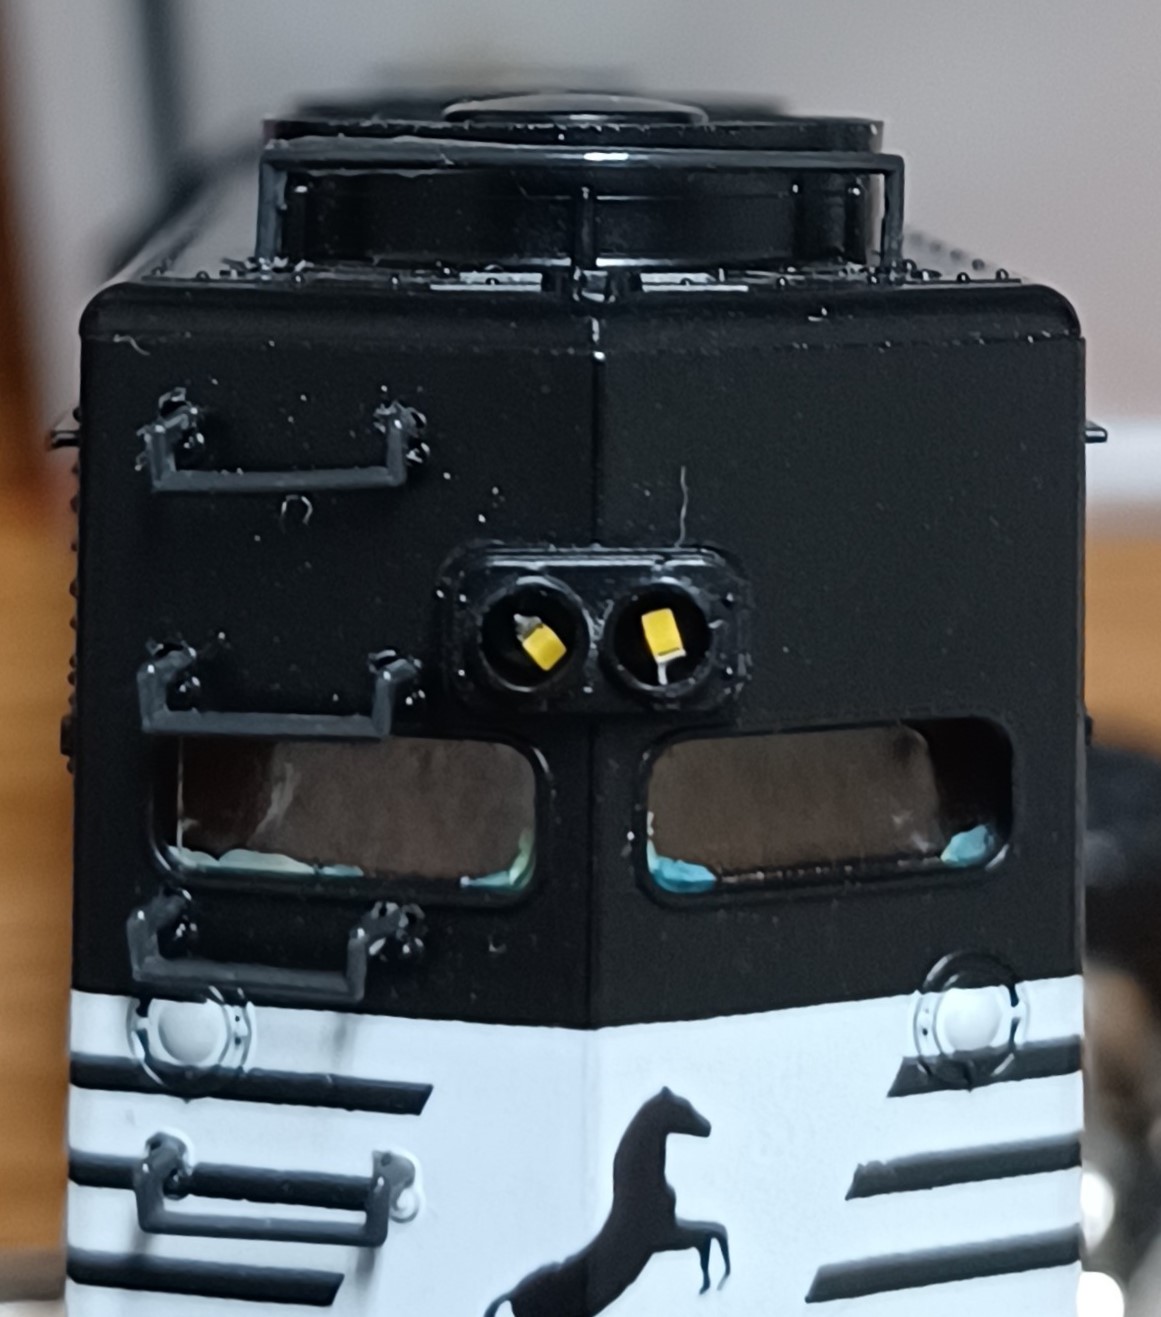
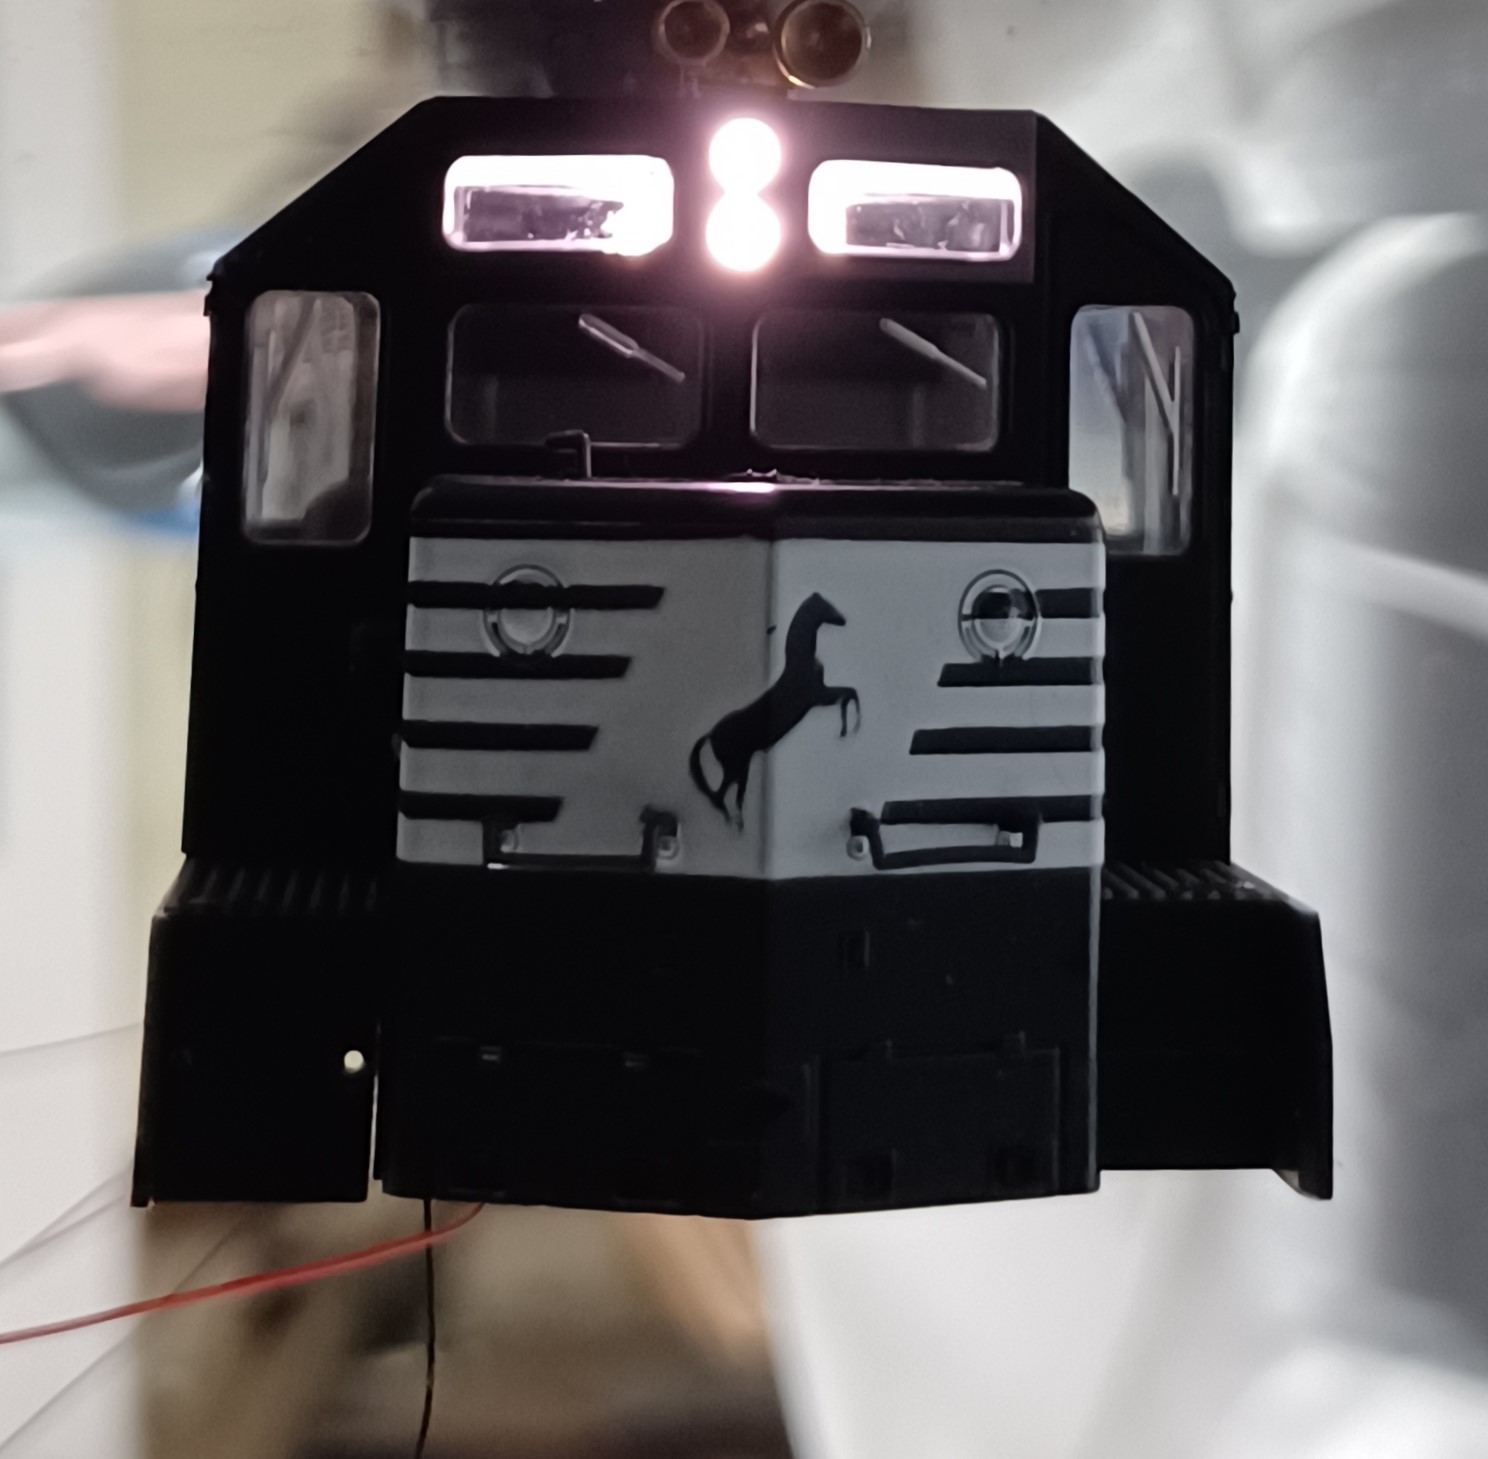
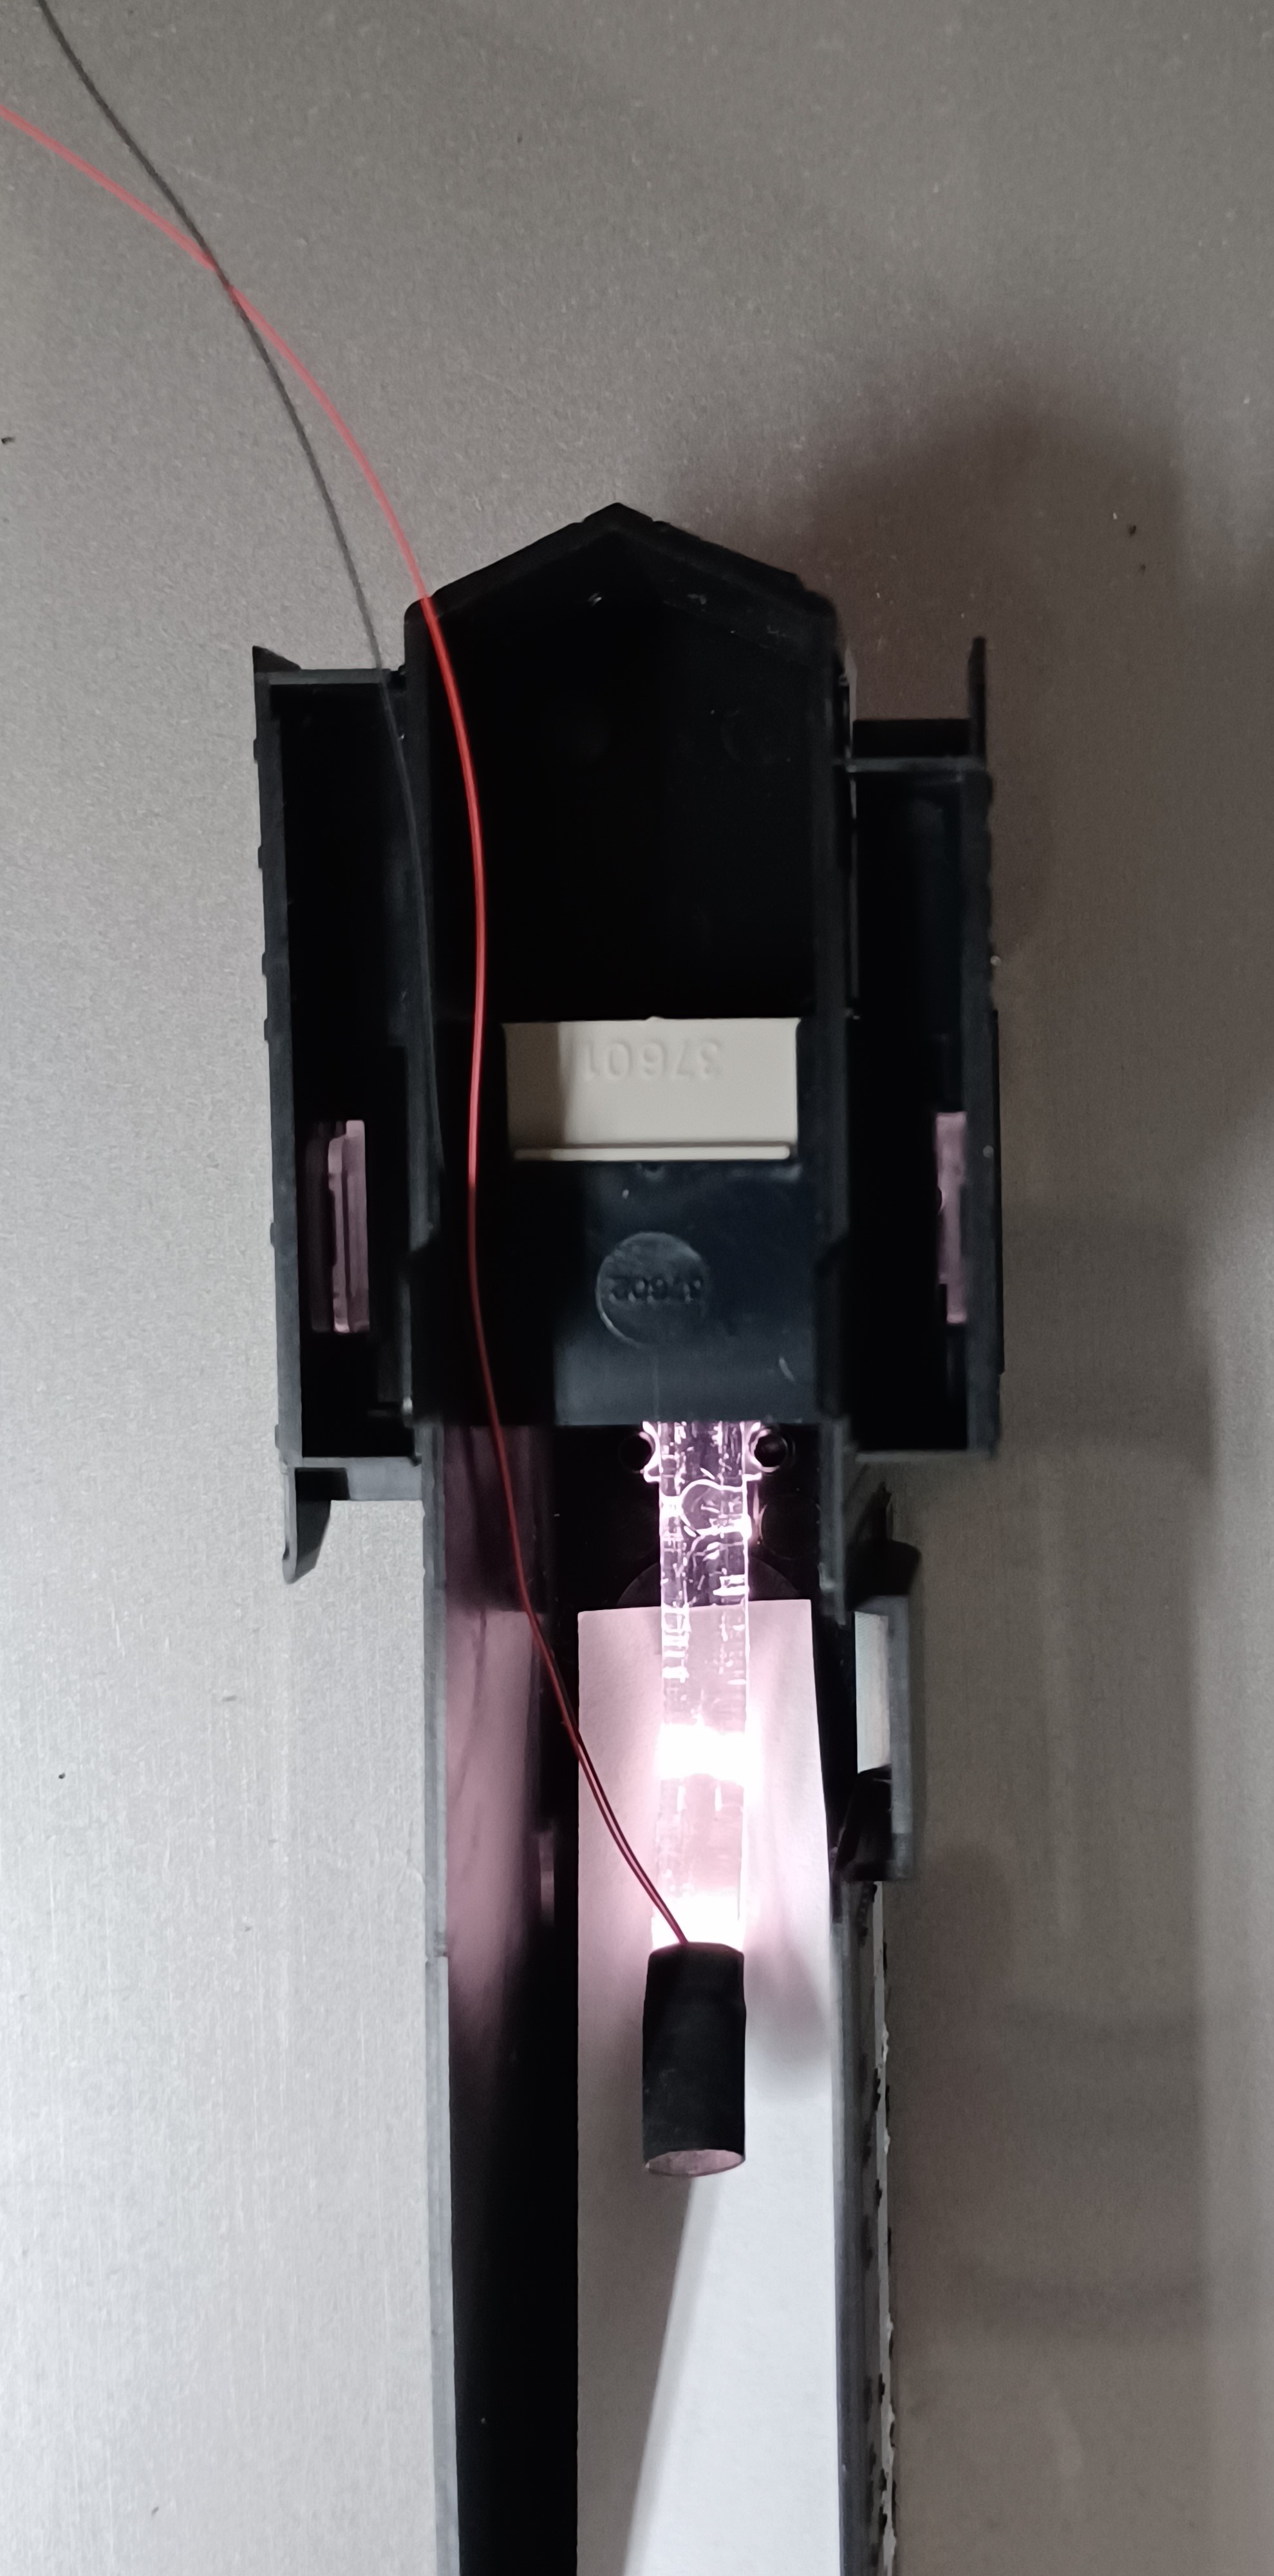
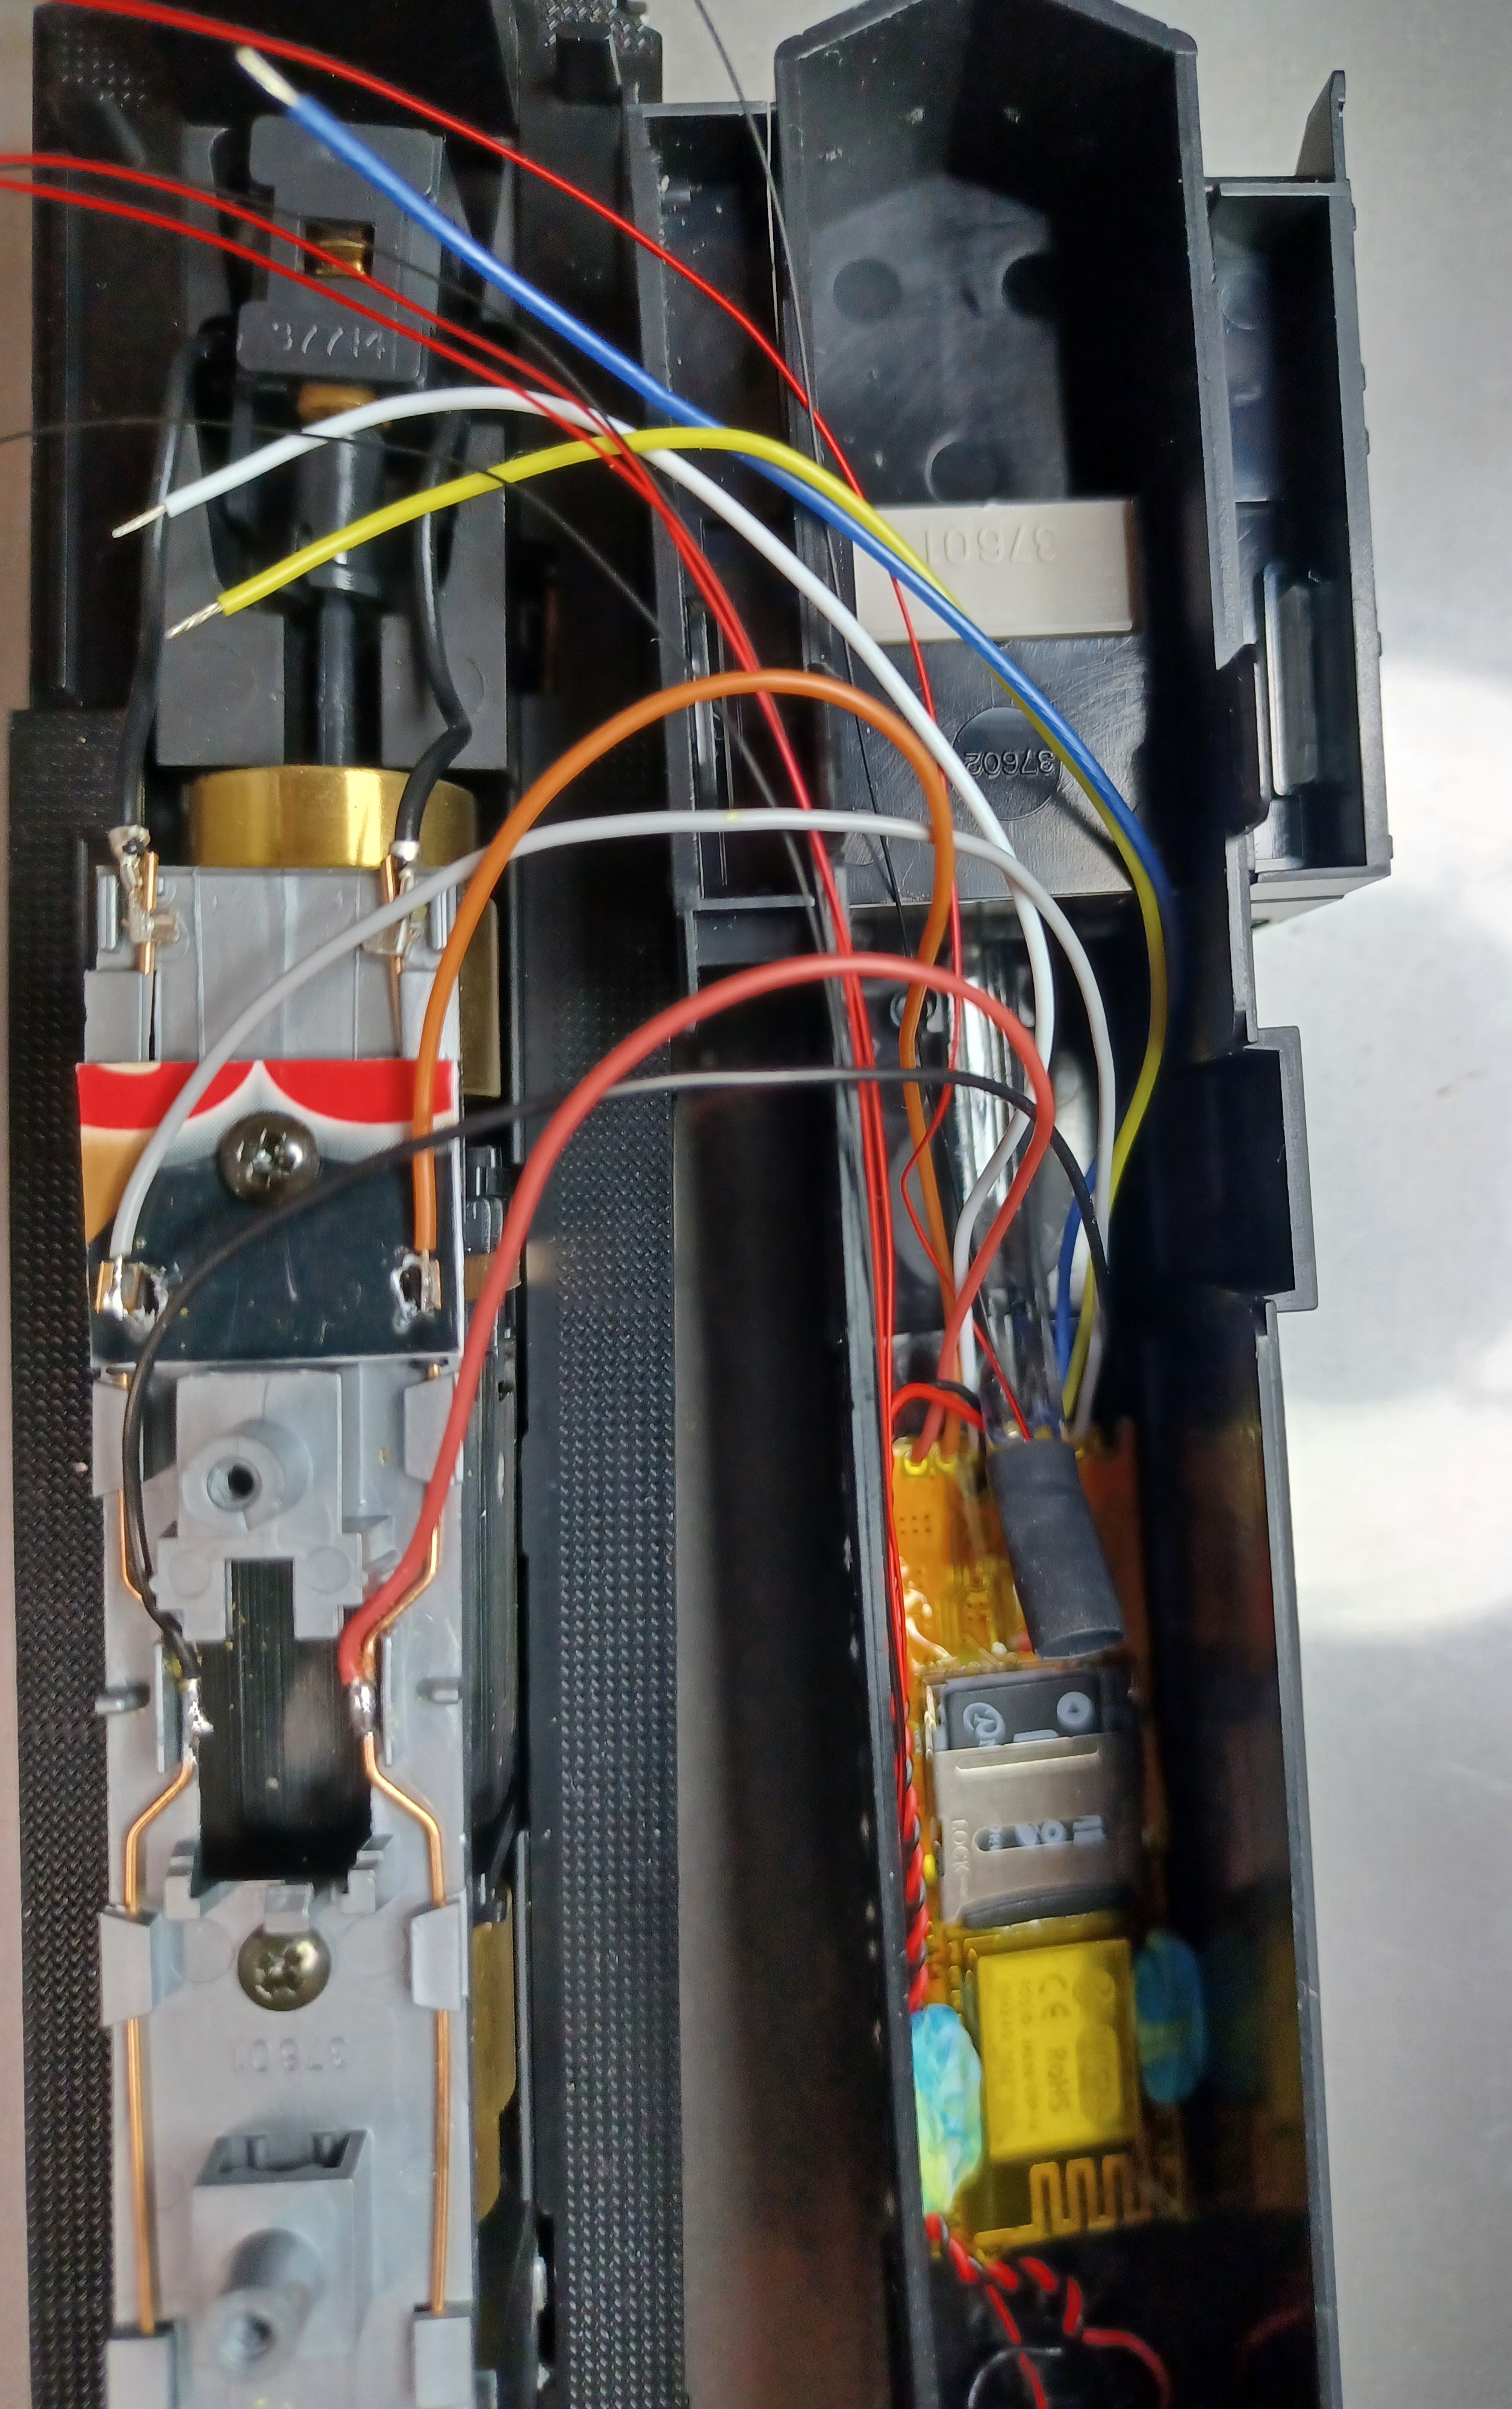
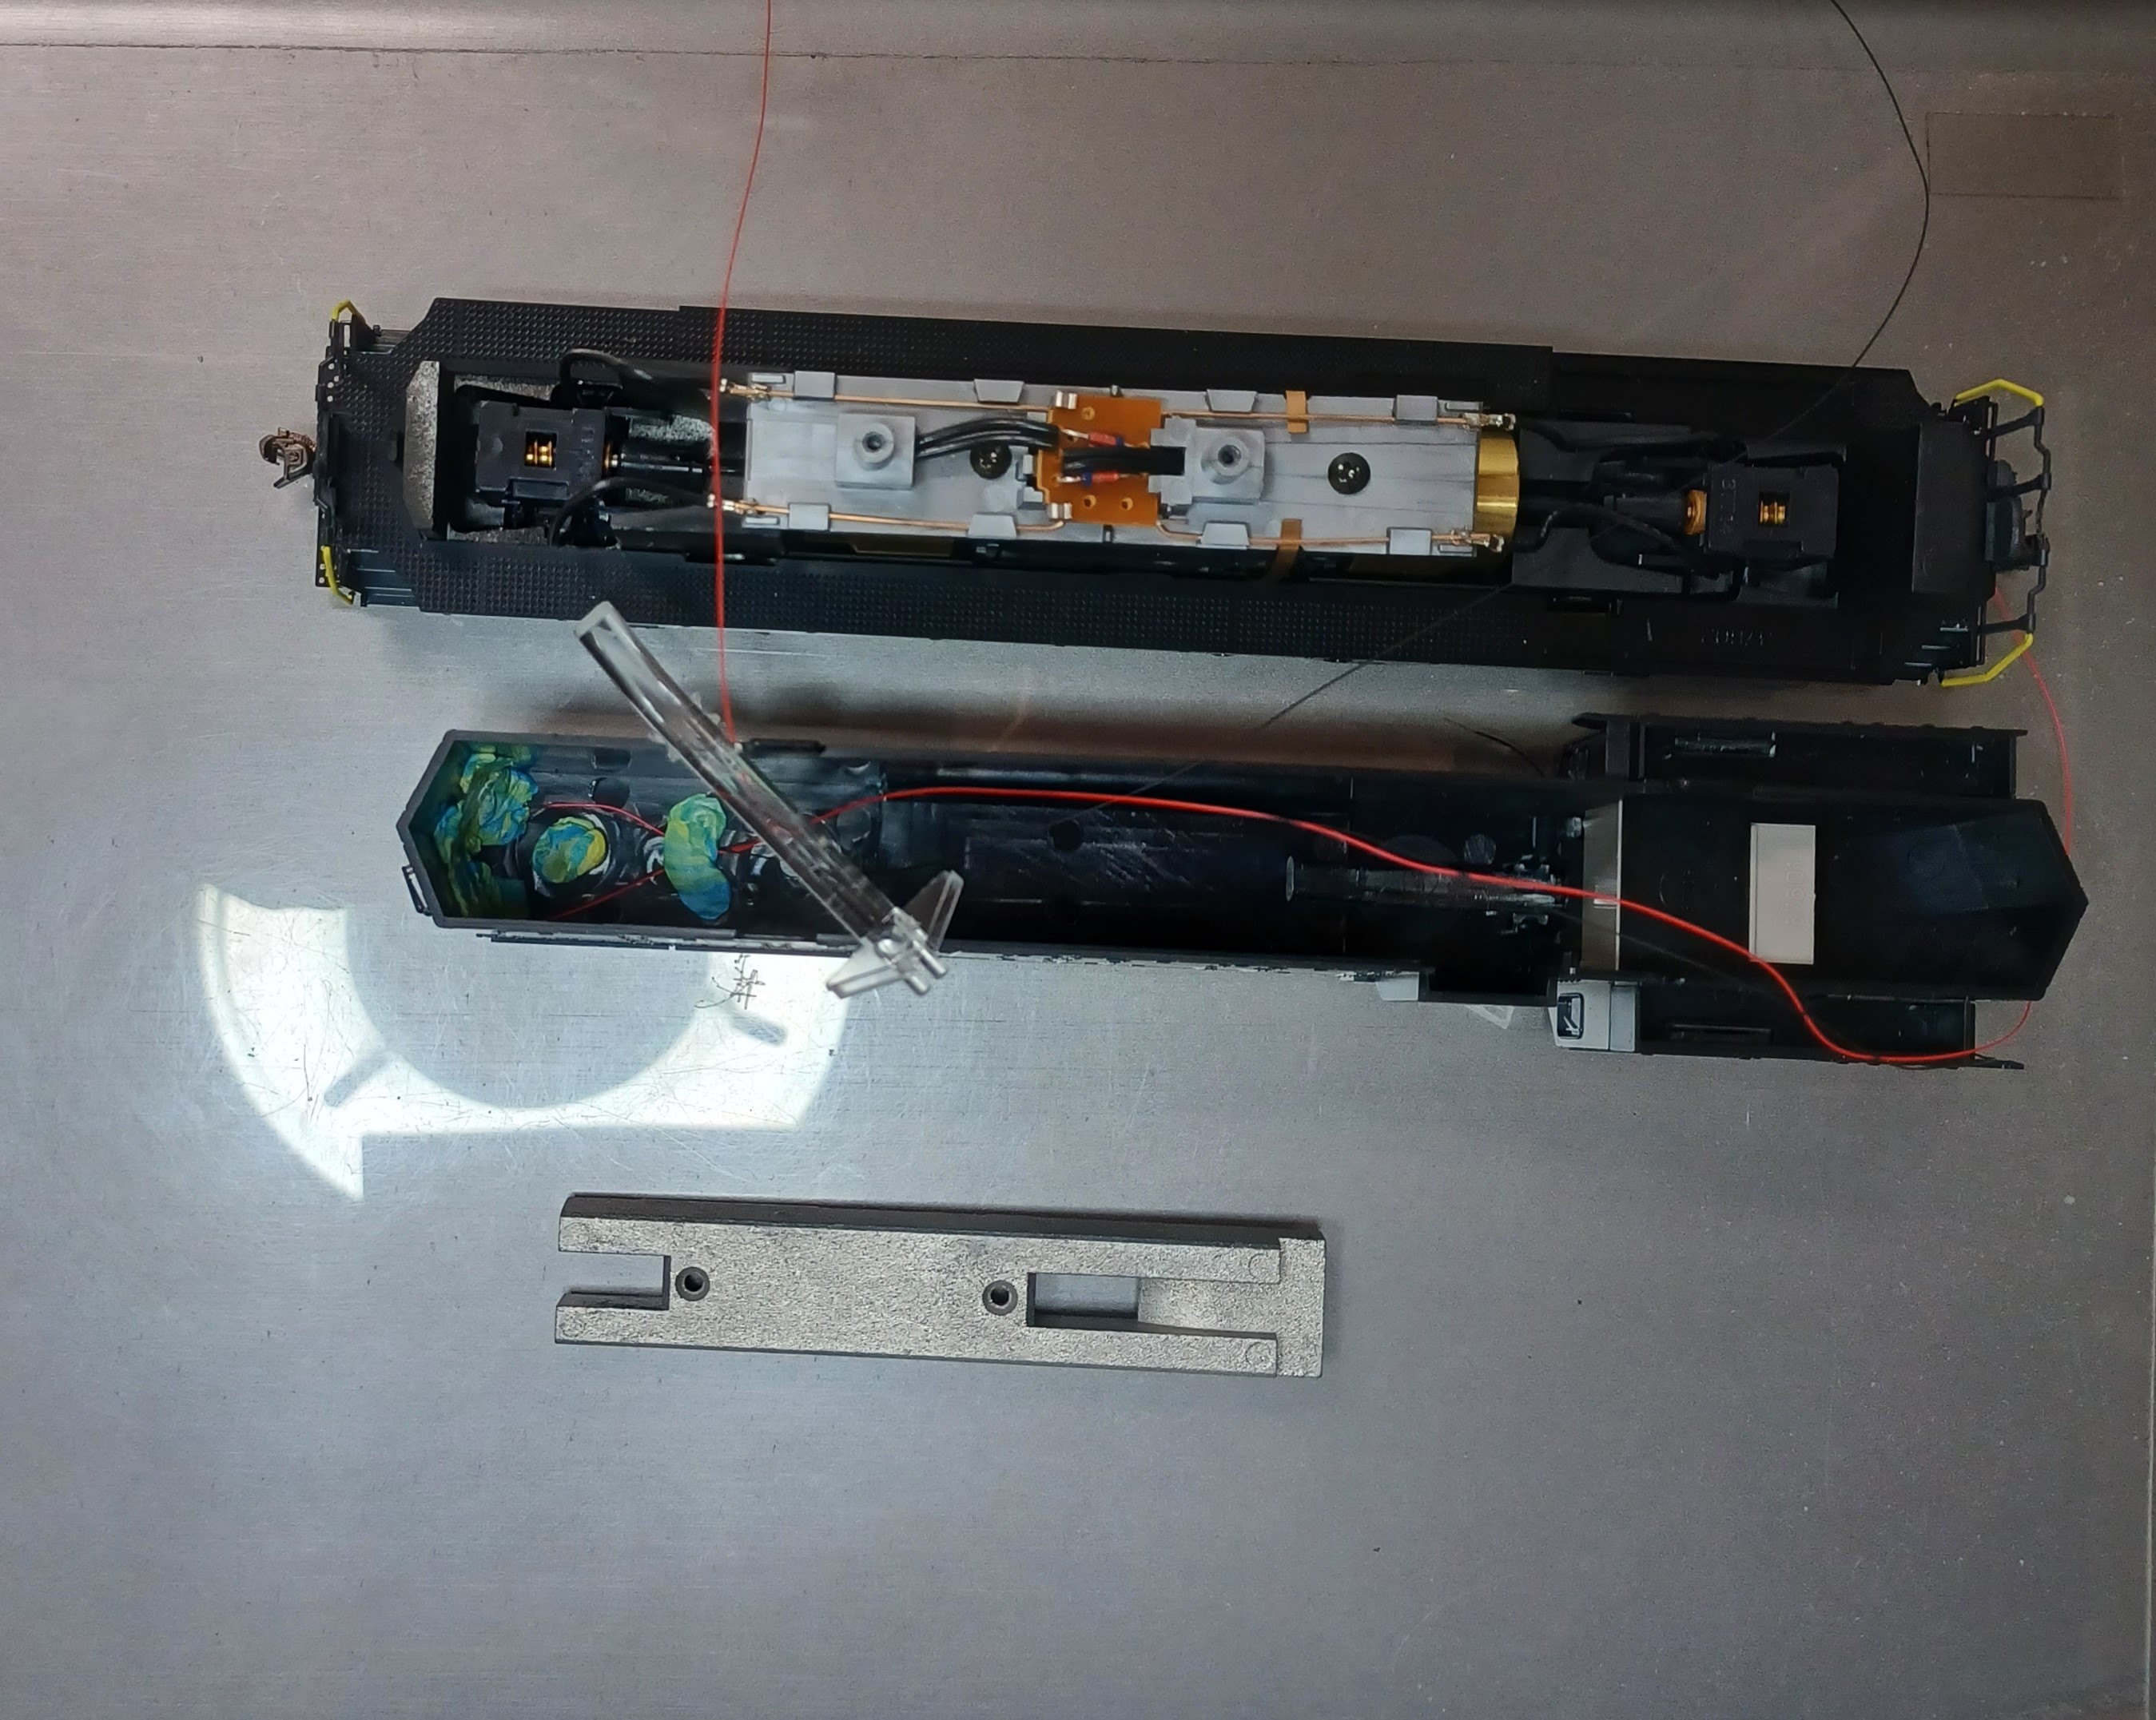
As in my earlier write up on RS2, I use the same material and remove some parts to make room for the LocoFi board (LF). In this case, I had to remove the weight, the rear light pipe and the light board. They go in the box for future-if it becomes necessary. I use the same type of 2xSMD LEDs for the back and just 1 for the front. The rear LEDs are sitting in the 2 holes that had the light pipe protrusions. The front LED is secured to the original light pipe with a piece of heat shrink tubing.
LEDs on power:
Power connections with heat shrink:
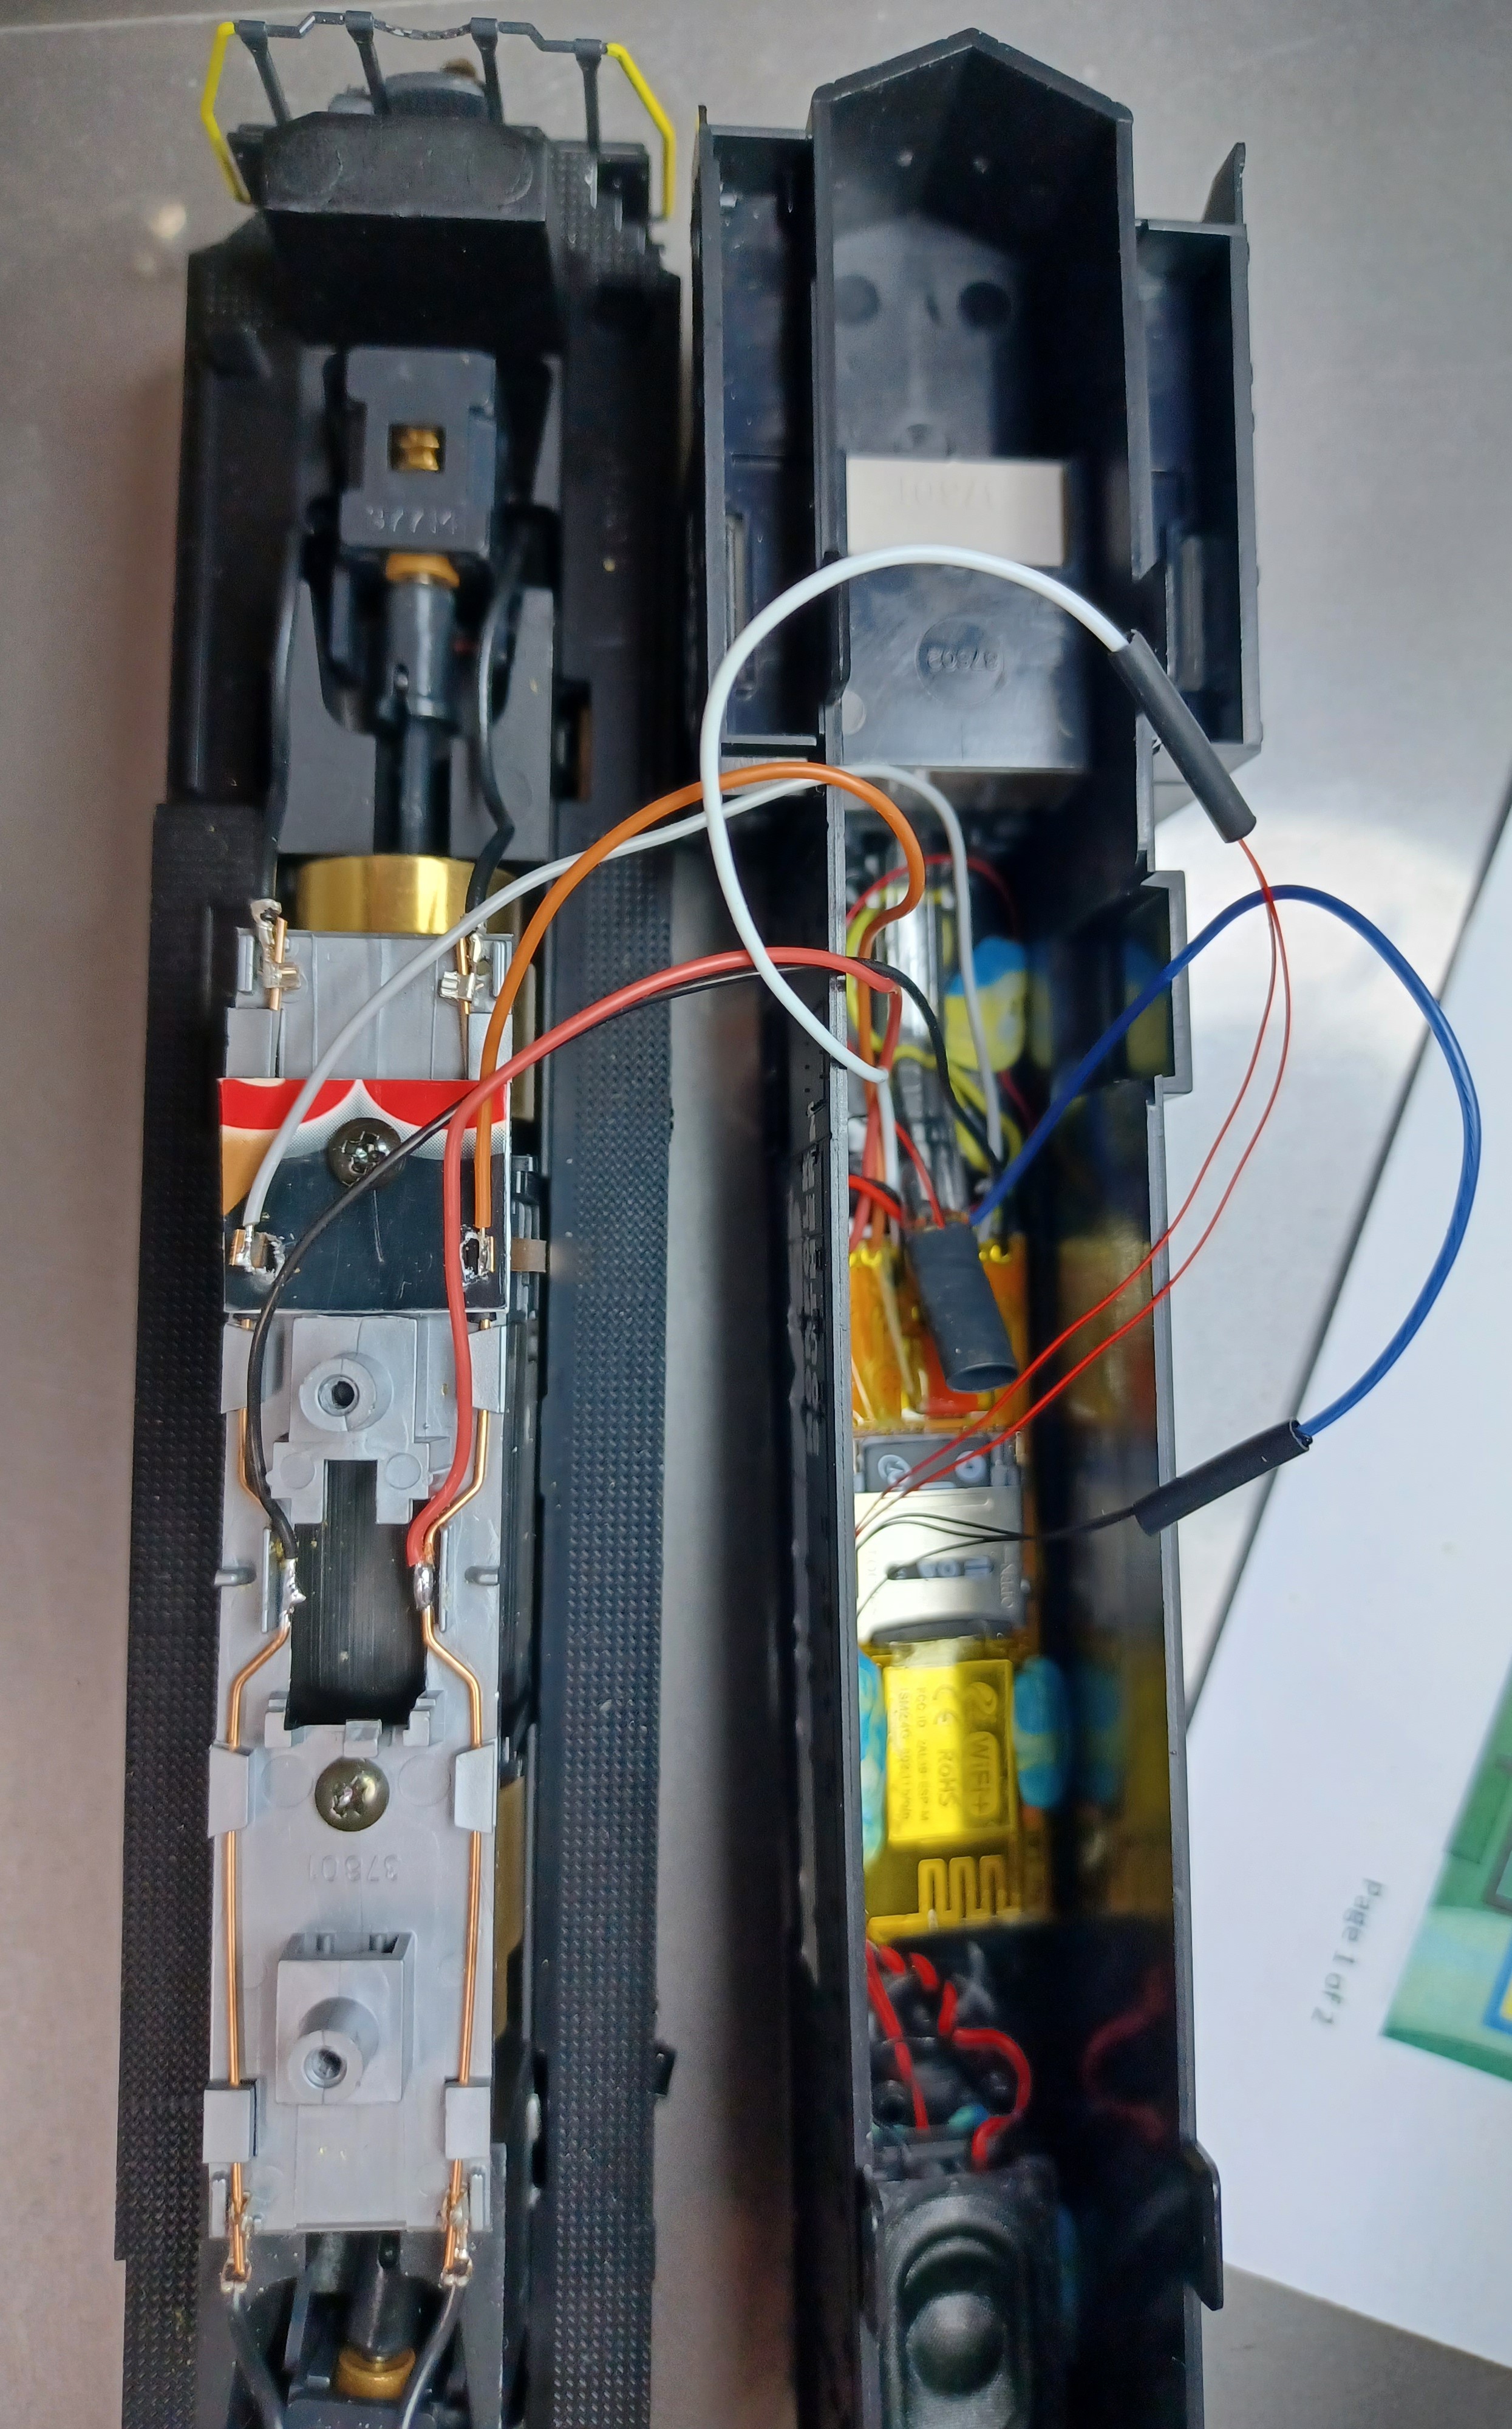
Motor brush connections are insulated from the power connections. I do not cut or alter any of the original connections as much as possible. The motor connections are with the original PB strips and they need to have some springiness to make sure the connections near the brush holders are not loose. The power connections are tinned in the middle for later connections to the LF wires.
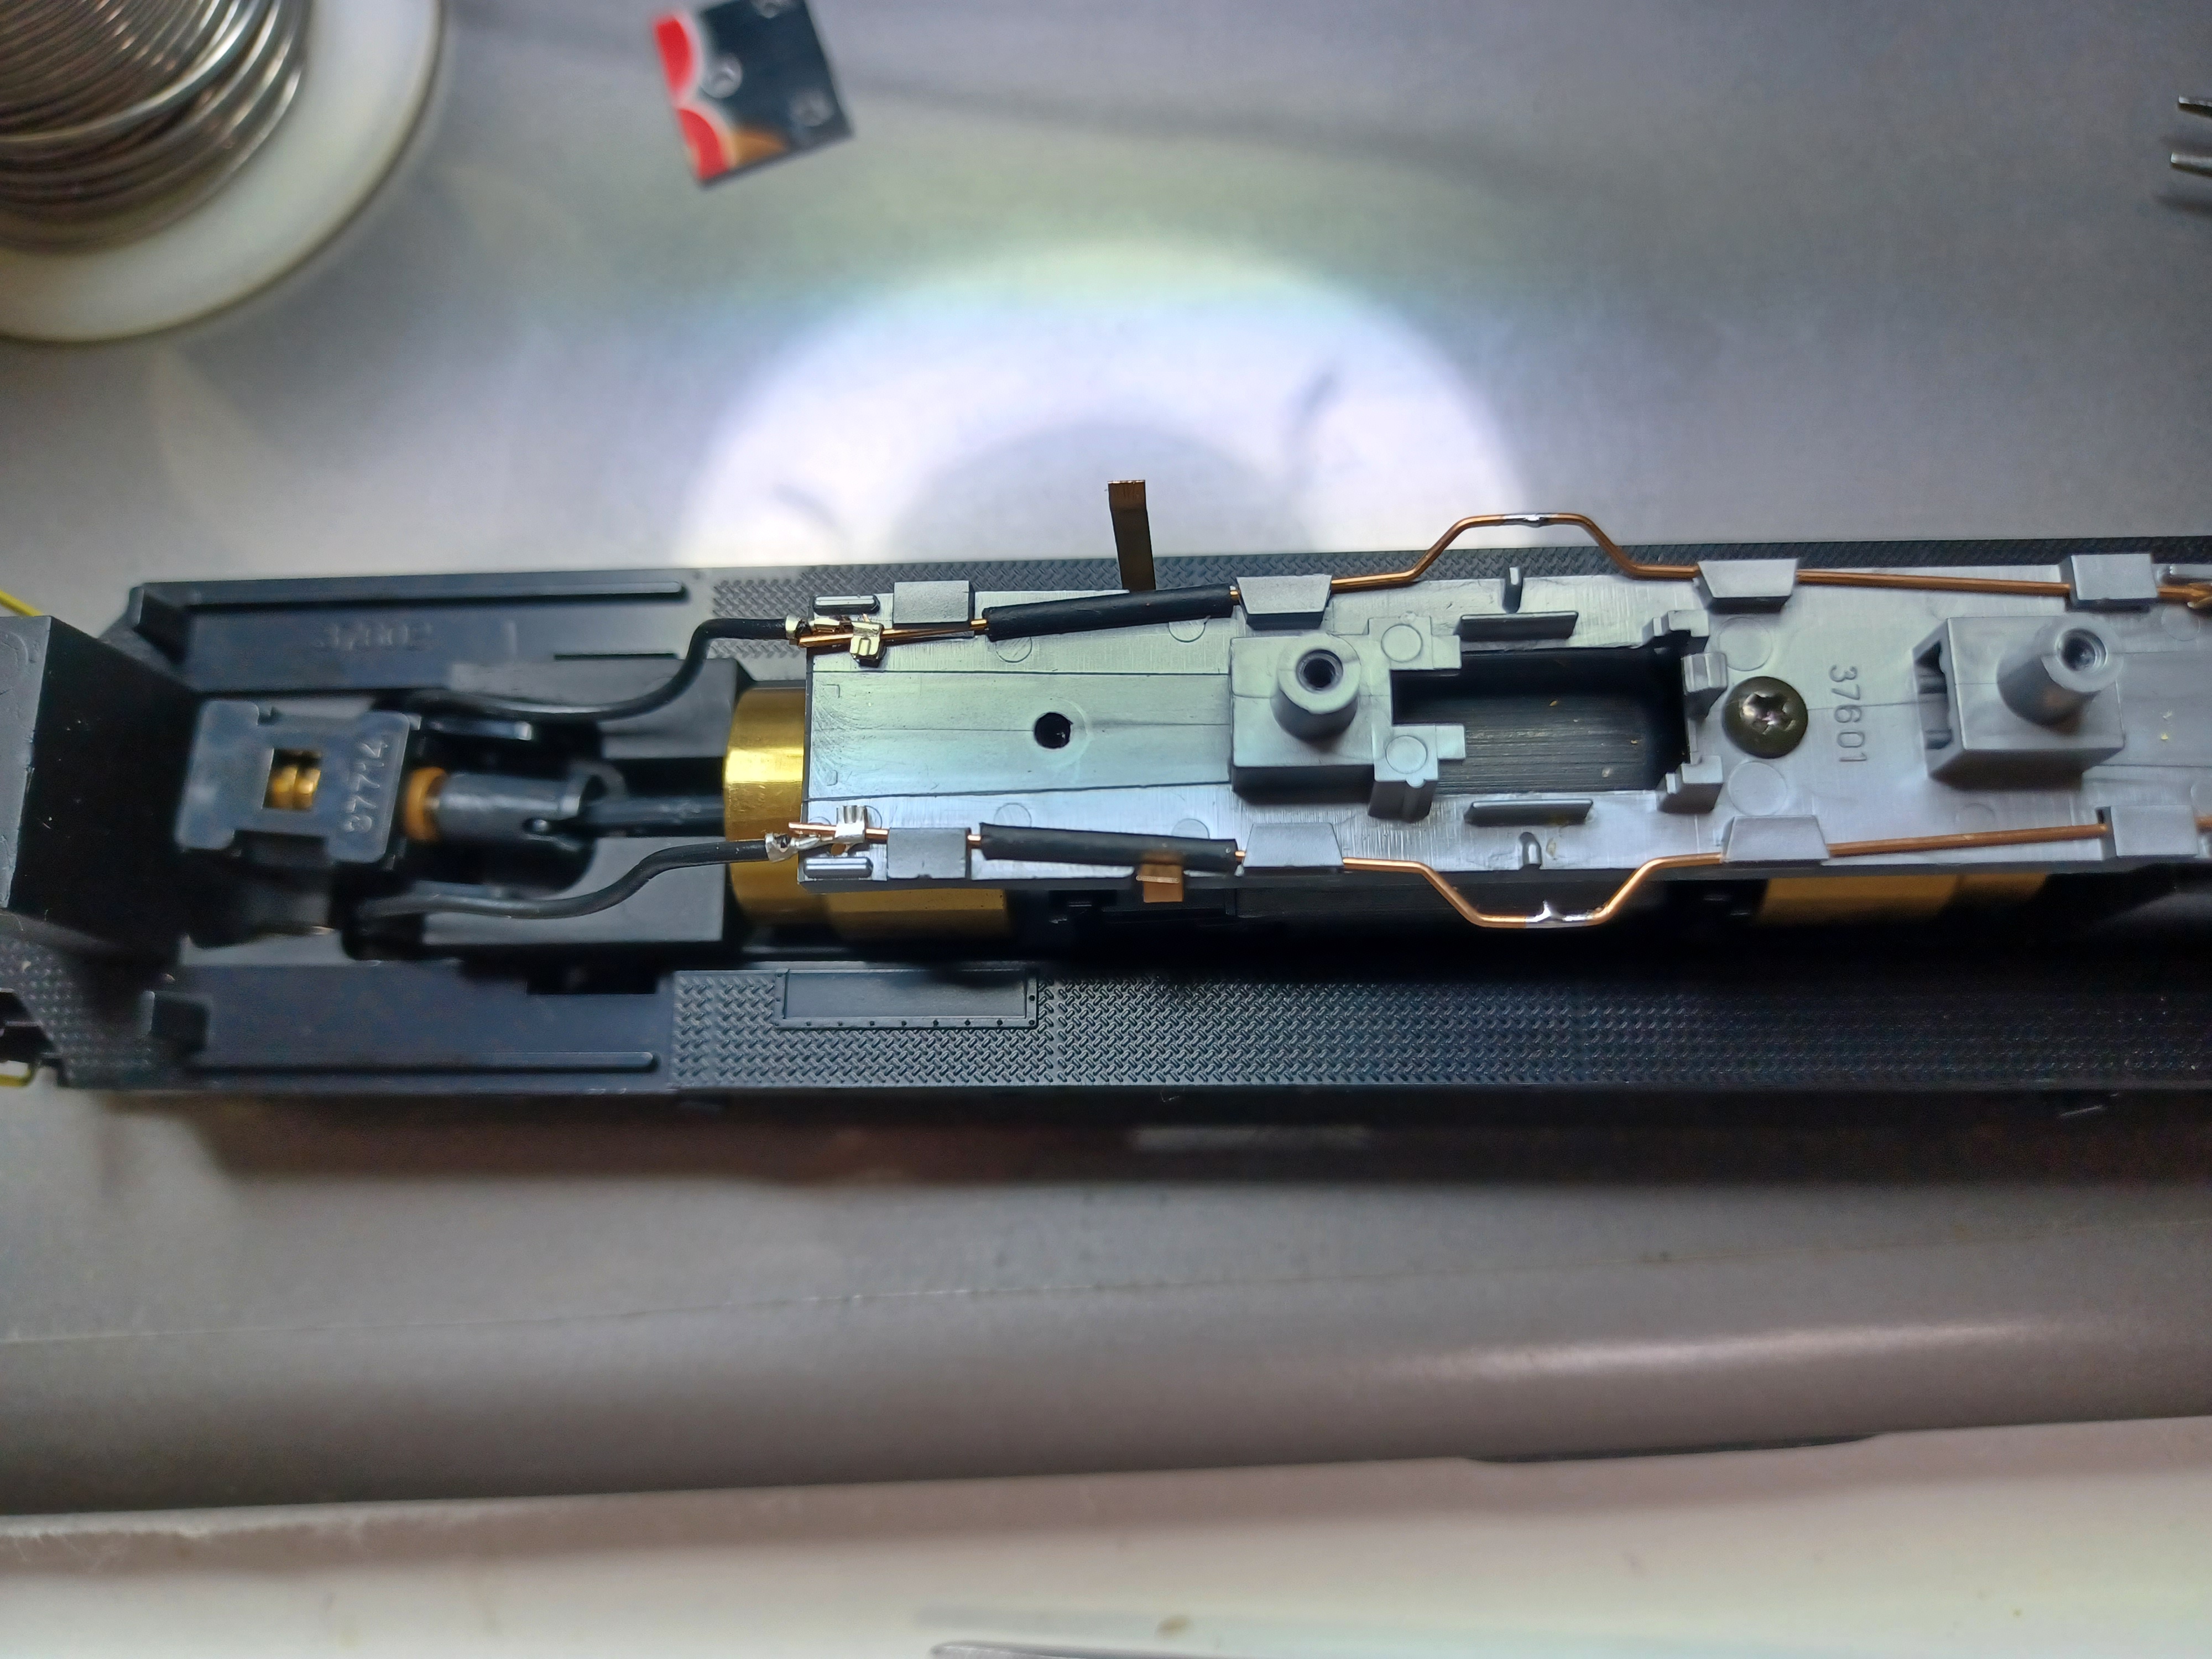
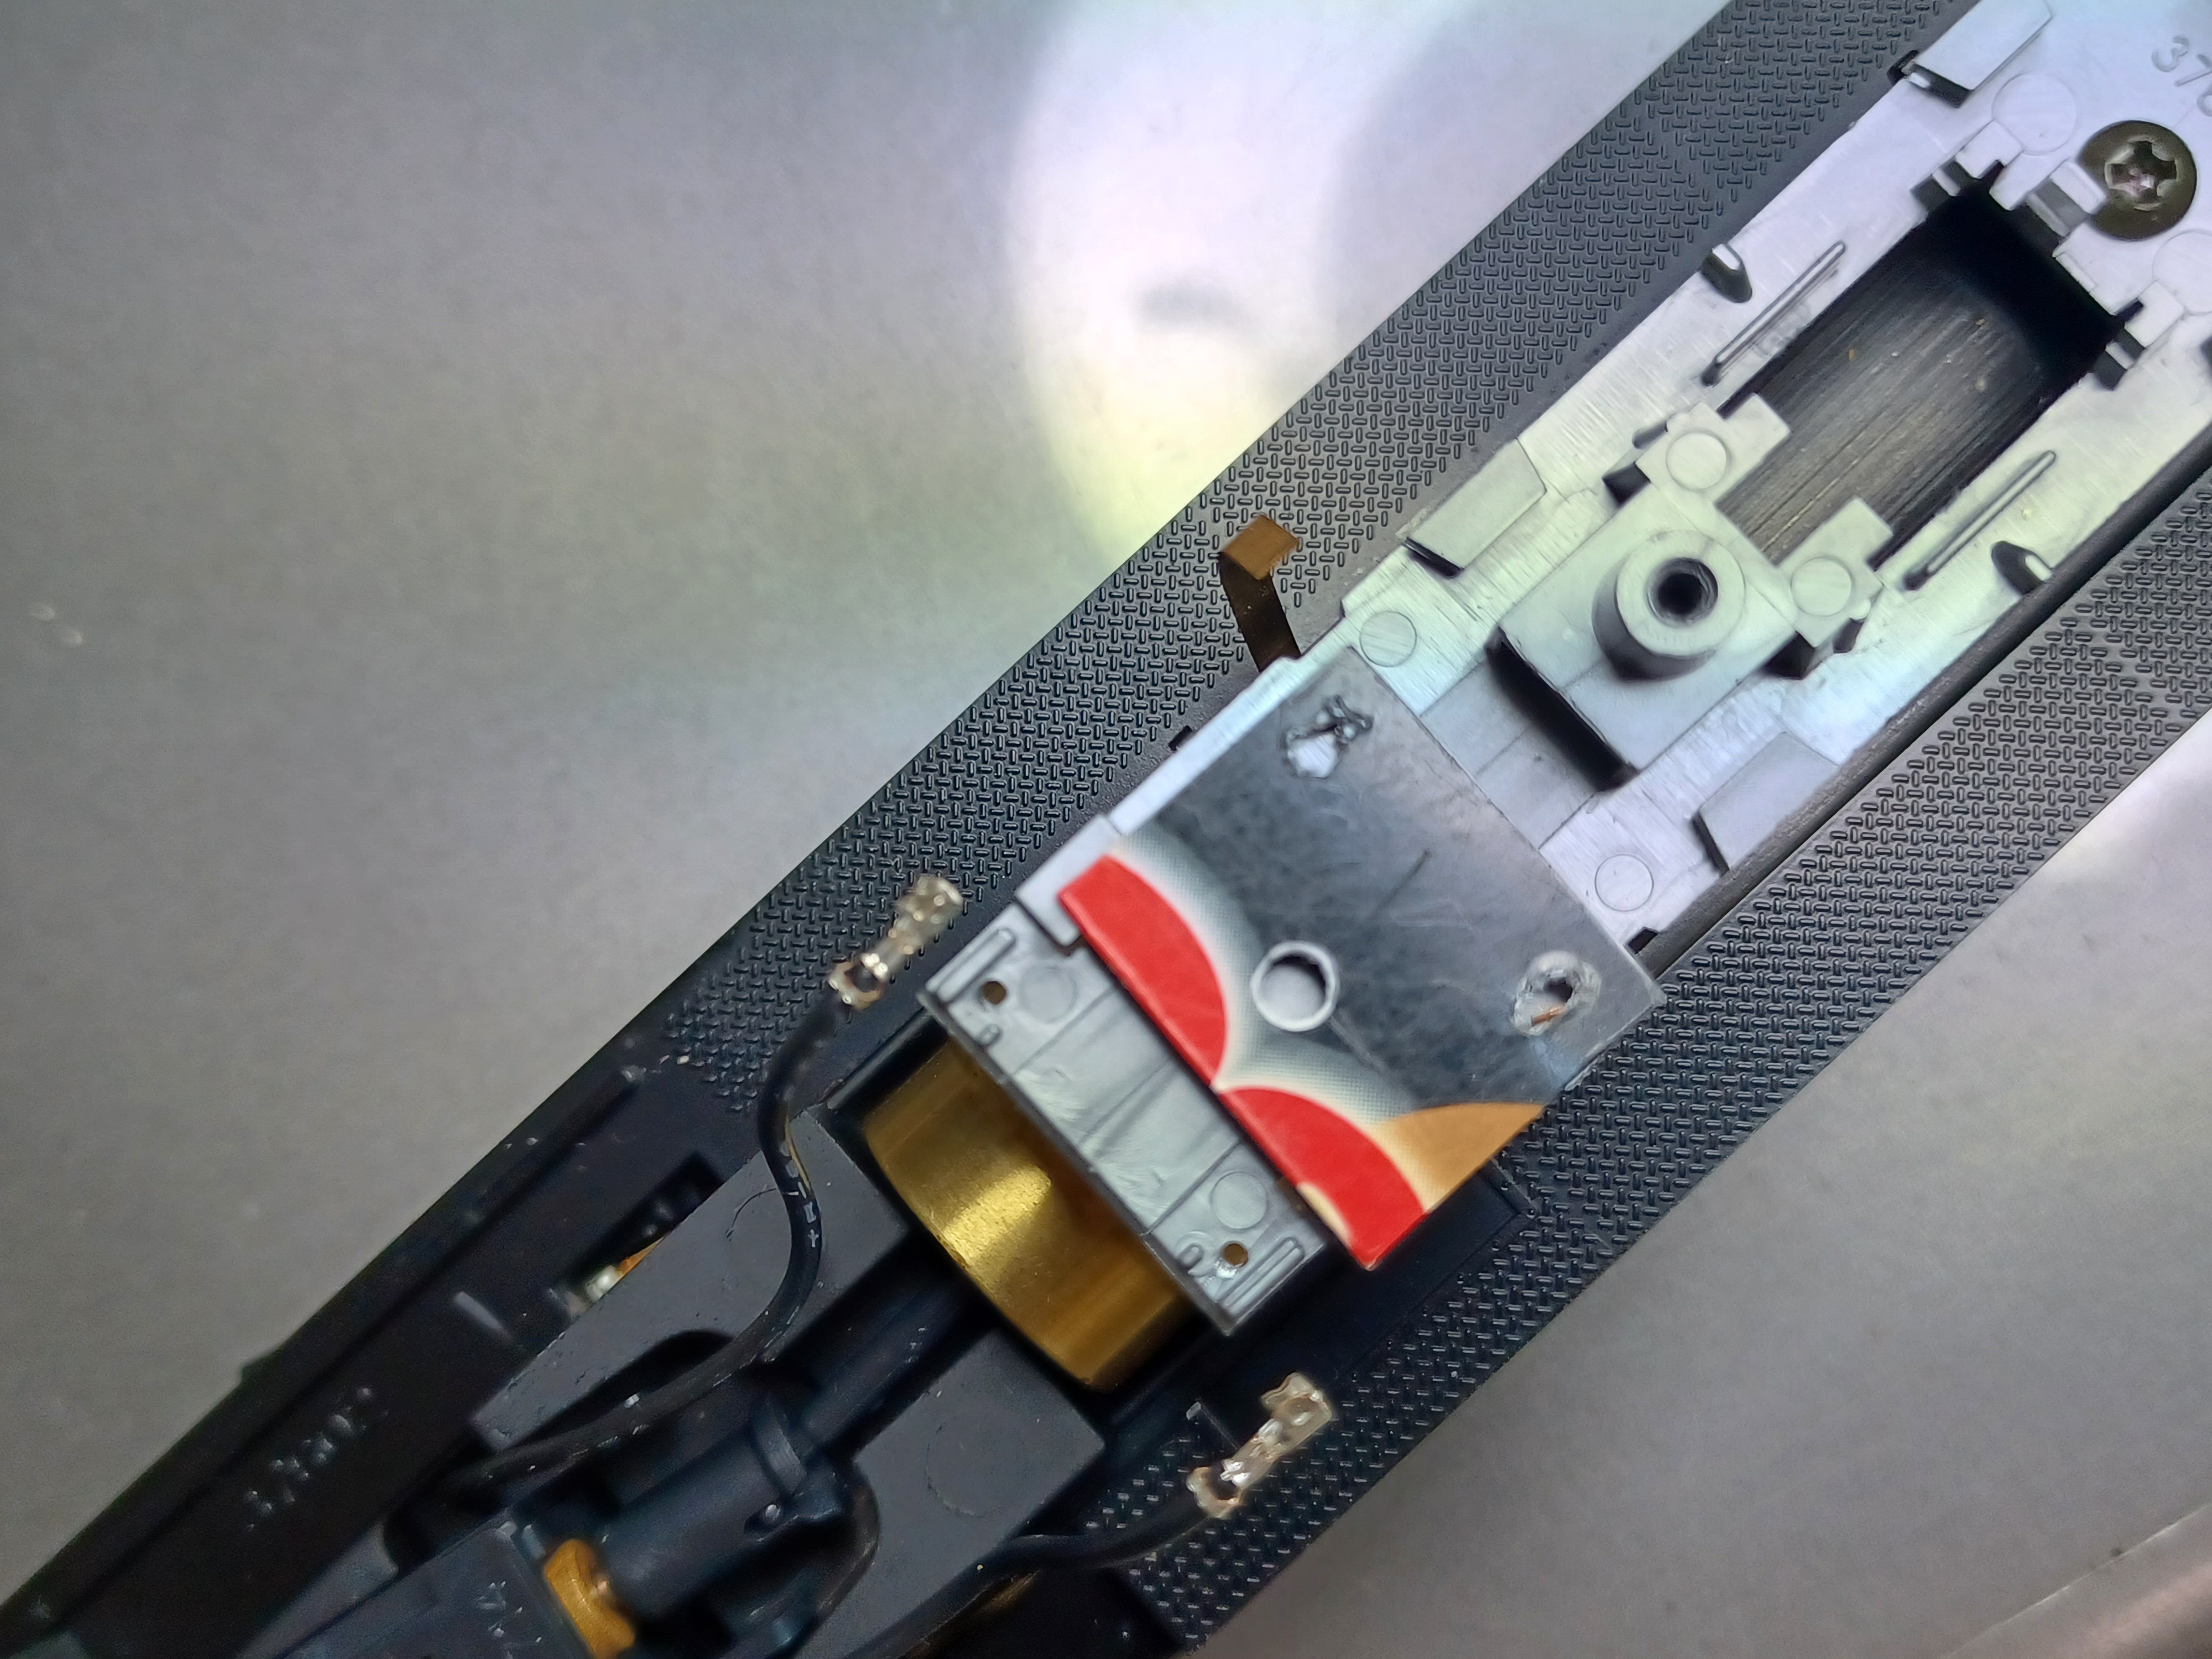
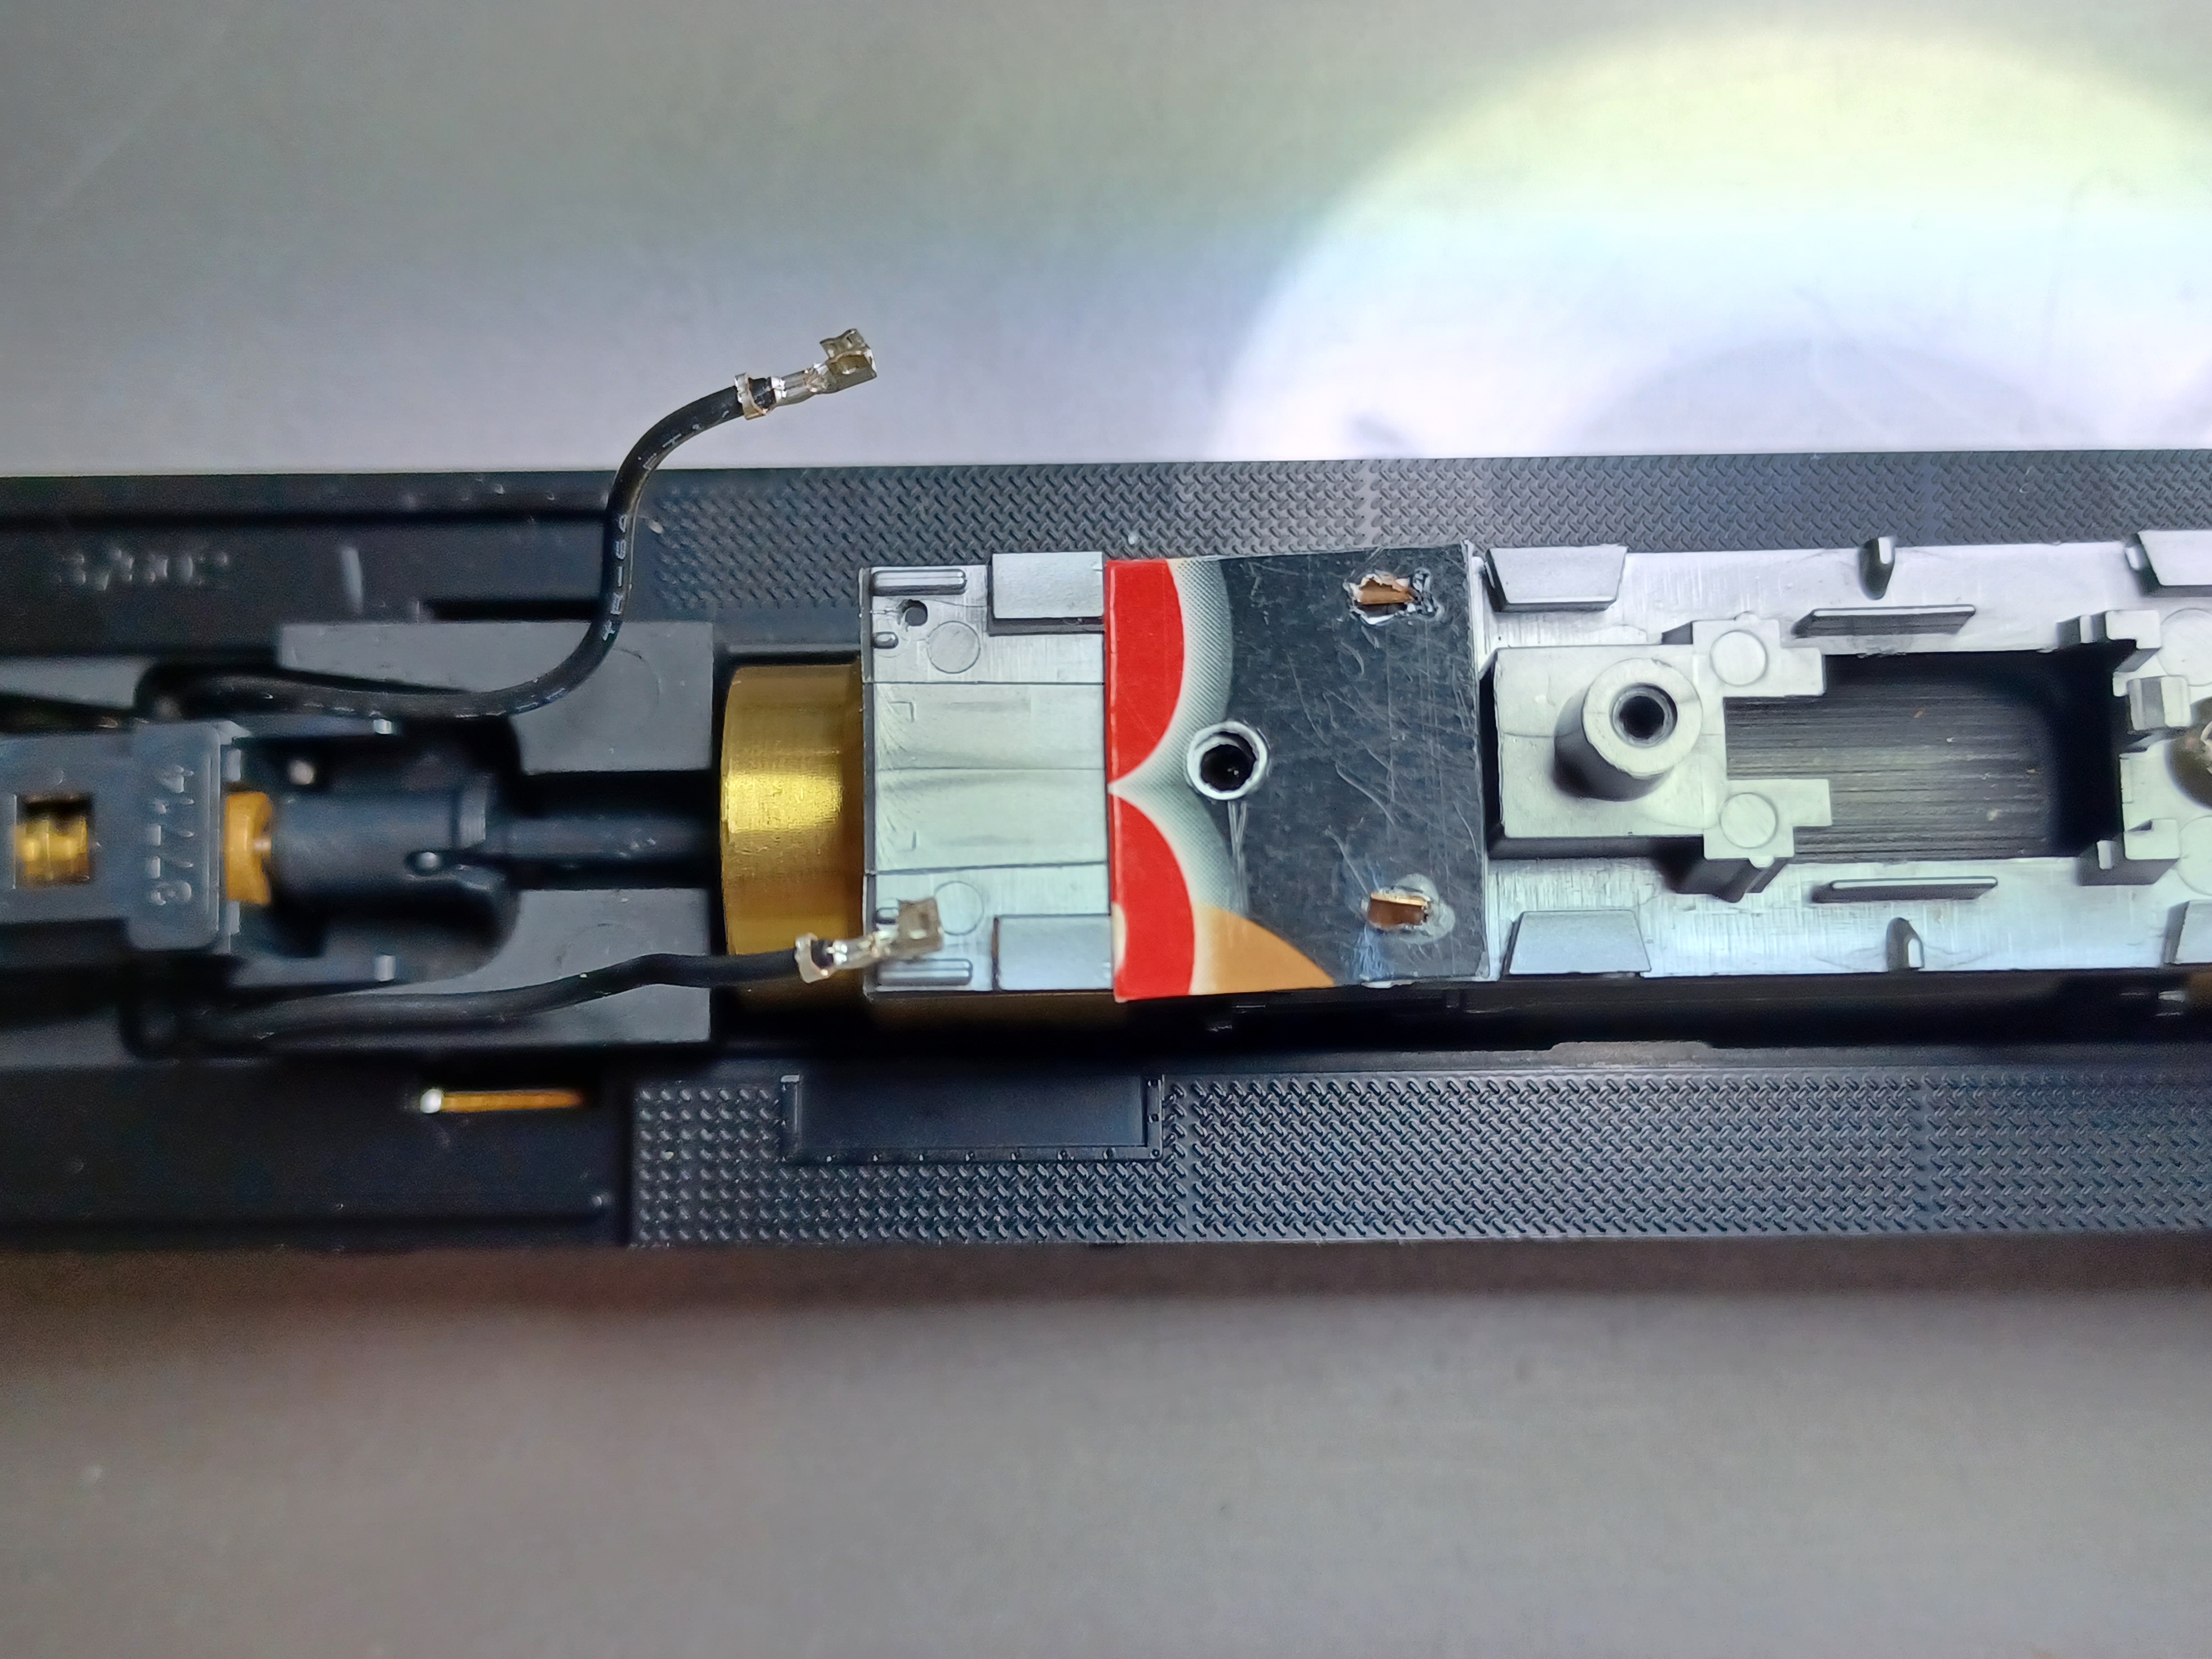
Using plastic card for motor brush connections:
LocoFi in place and wiring:
The plastic card is secured with 1 screw from the light board.
The front light pipe helps in keeping the LF board in place. I pack the sides with “HandiTak” instead of using any glue so that everything can be easily returned to the original connection, if necessary.
Spare parts! Rear light pipe, light board and weight. Even without the weight, this loco is fairly heavy and has good traction.
Congratulations on yet another install and thank you for the write-up.
Lovely layout and operation! Thank you for sharing.
